
.png&w=1920&q=75)
목차
- 1. The Three Most Common Problems Solo Sellers Face When Creating Detail Pages
- 2. Sort Out What Customers Need to See Before Making a Detail Page as a Solo Seller
- 3. What Should Time- and Budget-Crunched Solo Sellers Focus on When Making Detail Pages?
- 4. Making Solo Seller Detail Pages a Breeze with Draph Art
- 💡 Frequently Asked Questions (FAQ)

When running an online store by yourself, you have to handle everything from product registration, orders, and customer service to product images, sales copy, and detail page design on your own. Especially if you need to constantly register new products, making a detail page from scratch for every single item can take up a ton of time. For solo sellers with little design experience, figuring out what images to prepare, how to organize key selling points, and how to finish the detail page design can be a huge headache in day-to-day store management.

This is where using AI can seriously simplify the solo seller detail page creation process. Draph Art is an AI-powered tool that automatically generates e-commerce detail pages. It lets you take a single product photo and turn it into product staging images, real-life usage scenes, product detail shots, feature highlights, sales copy, and a fully structured detail page tailored for solo sellers. By automatically placing your content into detail page templates built with the latest e-commerce design trends, you can quickly create detail pages that effectively show off your product's strengths and necessary info without any extra photo shoots or complex design work.
💡 3-line Summary for Busy People (TLDR)
|
1. The Three Most Common Problems Solo Sellers Face When Creating Detail Pages
Feeling Clueless About Where to Start Due to a Lack of Detail Page Experience

If you're running a shopping mall for the first time as a solo seller, just getting started on a detail page can be overwhelming. You have to figure out everything on your own—how many product photos you need, which selling points to show first, how to write sales copy, and where to put product info like size, materials, and features.
If you start making a detail page without nailing down the overall structure first, you might end up with tons of images and text that just repeat each other, while completely missing the product's actual superpower. That's why, if you're a solo seller who's new to making detail pages, instead of jumping straight into complex detail page design, it's way more important to figure out what info to show your customers and in what order.
Hard to Make Detail Pages from Scratch for Every New Product Due to Lack of Time
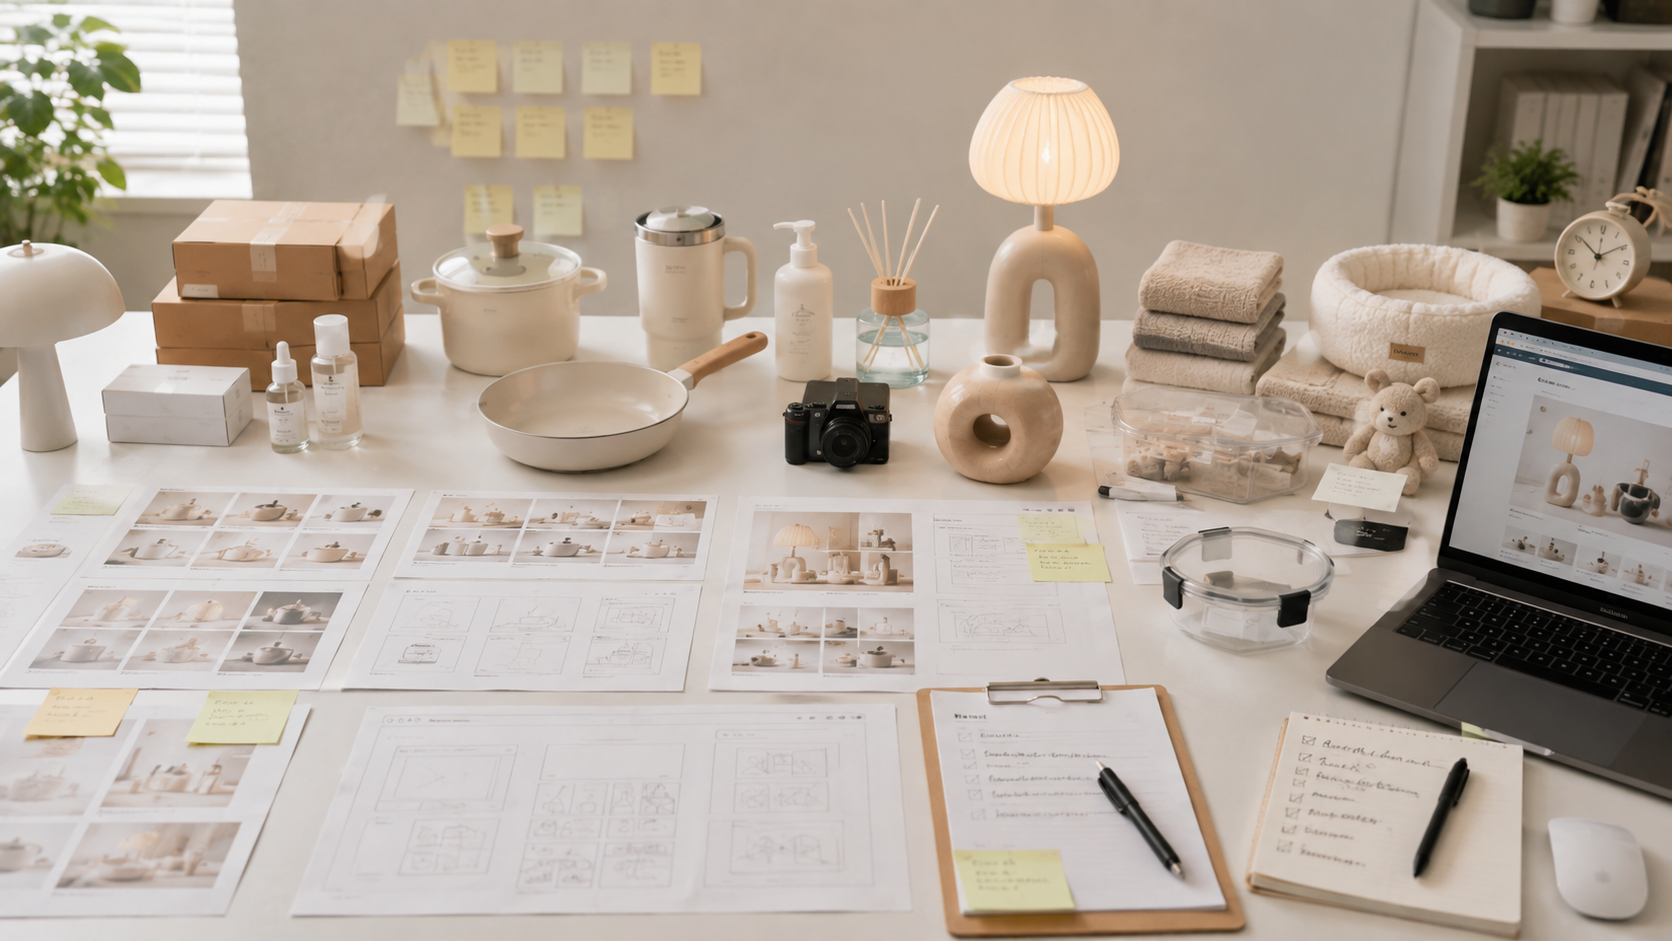
Aside from making detail pages, solo sellers have to handle a ton of other store tasks all by themselves, like registering products, managing orders, answering customer chats, and doing marketing. When you have to go through product photography, image creation, sales copy writing, and detail page design every single time a new item drops, listing just one product takes way more time than you'd expect.
Especially as your product catalog grows, you end up doing the same repetitive tasks over and over—hero shots, usage scenes, product details, and descriptions. So for solo sellers, rather than just finishing one detail page, figuring out how to cut down the time spent on repetitive detail page creation whenever a new product drops is a much bigger deal.
Tough to Outsource Photography and Design for Every Product Due to a Limited Budget

Detail page production costs are another huge headache for solo sellers. If you have to pay separately for product shoots, model or studio shoots, image retouching, copywriting, and detail page design for every new item, your production costs are bound to skyrocket as your catalog grows.
Especially when you're just starting out or need to test a bunch of new items quickly, it's super hard to drop a ton of cash on photo shoots and design for every single product. So when making detail pages as a solo seller, instead of trying to create tons of content from the start, it's crucial to pin down the must-have info for buying decisions and your main selling points first, and then focus your limited budget where it counts.
2. Sort Out What Customers Need to See Before Making a Detail Page as a Solo Seller
Organize Your Core Selling Points to Showcase First
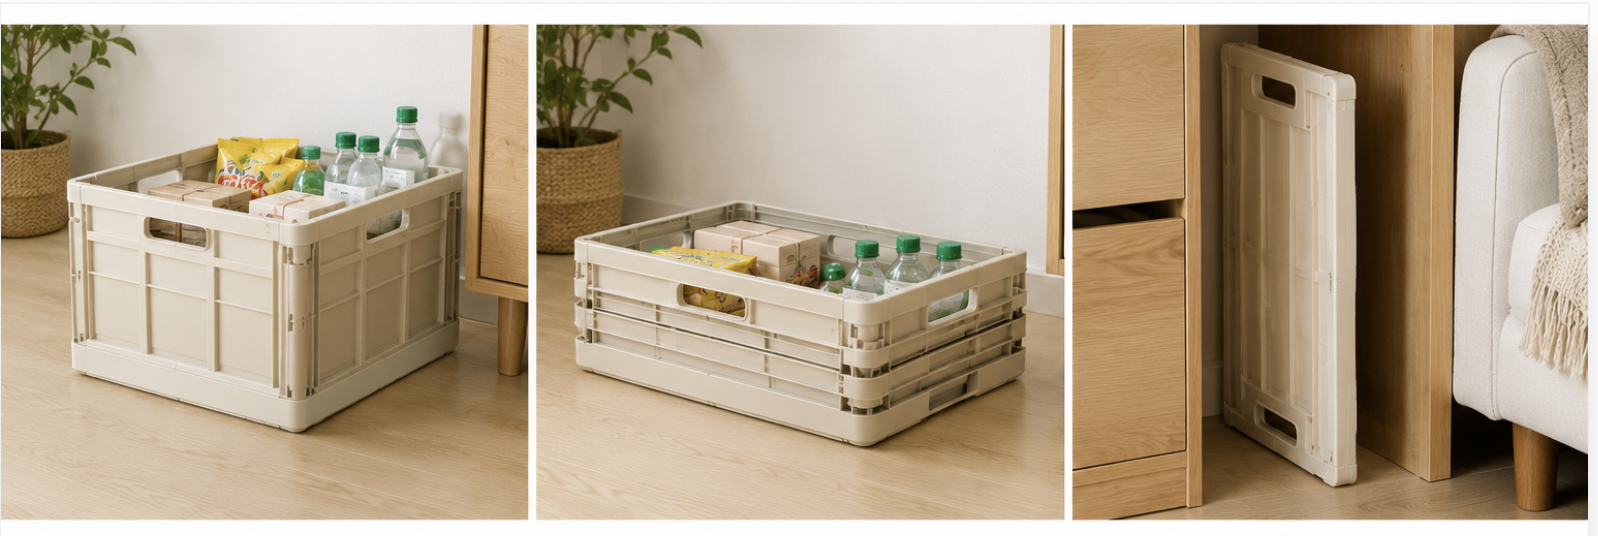
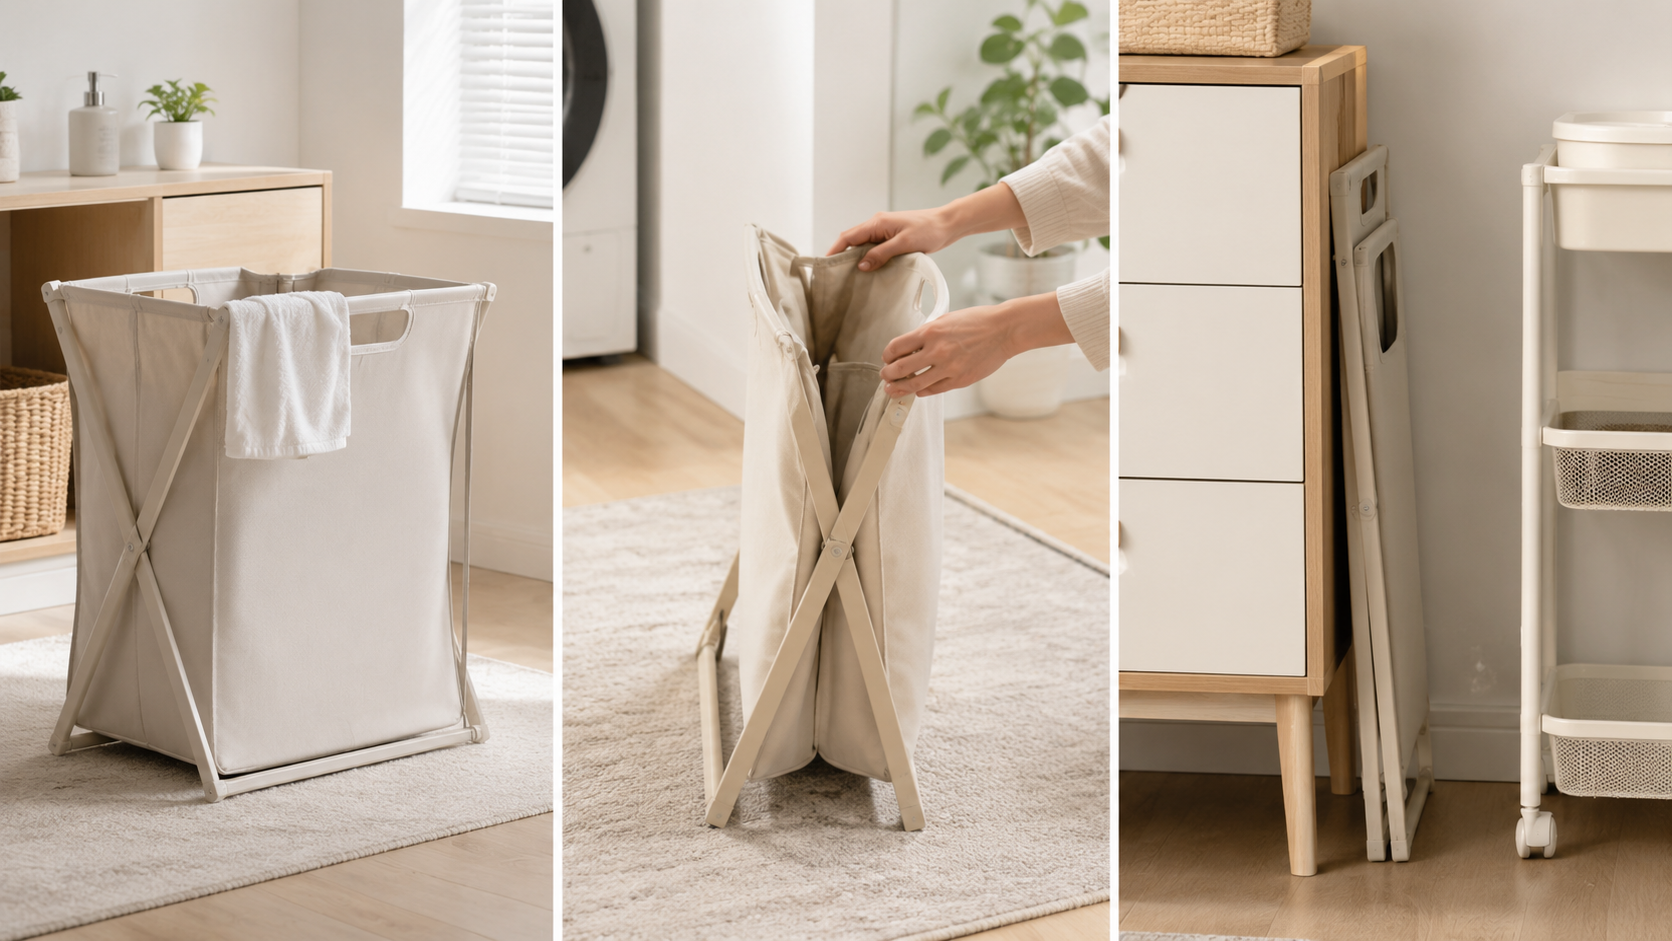
Before you dive into making a detail page, you need to check three things: who this product is for, what needs or problems it solves, and what makes it stand out compared to similar items. Once you nail down your core selling points and prep your images and sales copy around them, you'll put together a detail page way more efficiently than creating a bunch of content first and trying to sift through it later.
For example, if the biggest perk of a foldable storage bin is saving space, instead of repeatedly showing product photos from different angles, it's way more effective to focus on the before-and-after of folding it and what it looks like when actually in use. On the flip side, if your customers care a lot about material and texture, you'll want to highlight close-ups of the fabric and real-life usage shots. The secret to detail page creation isn't showing a ton of stuff—it's making customers quickly get why they need to buy this item.
Structure Content and Information Flow Based on Product Features

Since customers look for different things before buying different types of products, the content you need on your detail page changes too. Apparel and fashion accessories need fit shots and material close-ups, interior goods need spatial setups and a realistic sense of scale, lifestyle items need to show features and how they work, and kitchenware should clearly show real usage scenes along with capacity, materials, and how to use them.
Once you've picked out the content you need, next up is mapping out the information order for your detail page design. It's best to show your core selling points first, explain the real-life usage, features, and differentiators, and then wrap up with product details and purchase info in that order. This way, customers first understand why this product is worth buying, and then naturally check out concrete details like size, material, color, and options. Plus, mapping out this info flow ahead of time saves you from constantly moving images and text around while building the page.
3. What Should Time- and Budget-Crunched Solo Sellers Focus on When Making Detail Pages?
Just because you're a solo seller doesn't mean you need to spend the exact same amount of time and money on every piece of content in your detail page. Once you've nailed down your core selling points, it's super important to draw a line between info that absolutely needs to be crystal clear and content you can keep simple.
Getting Product Info Clear and Accurate Comes First
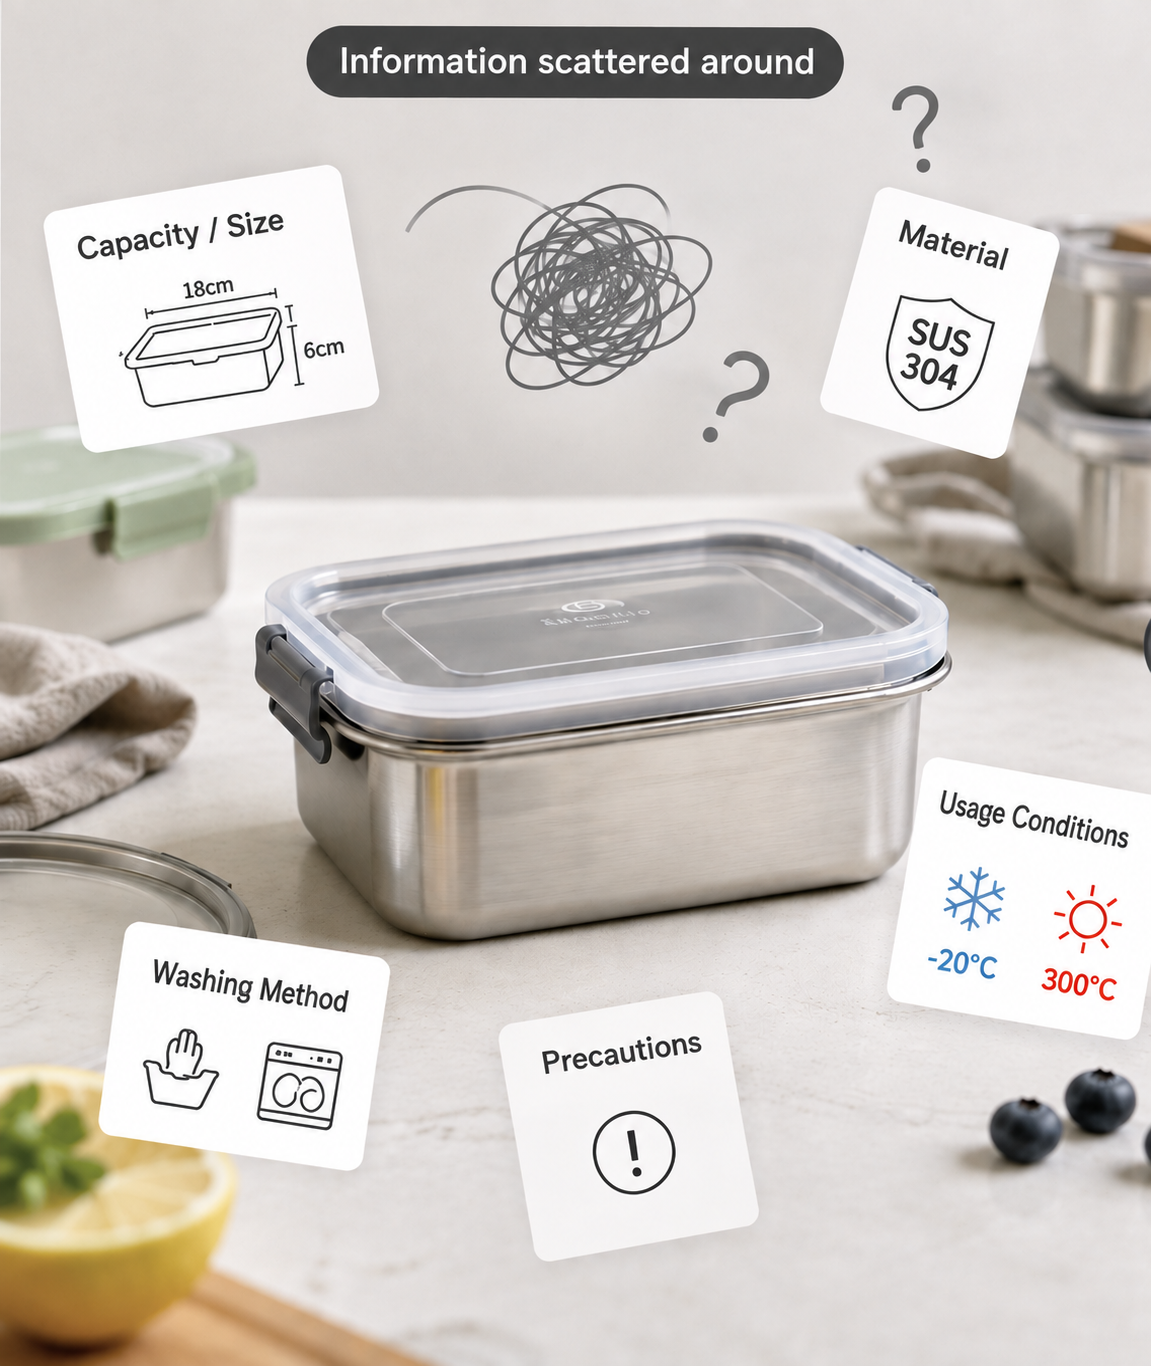
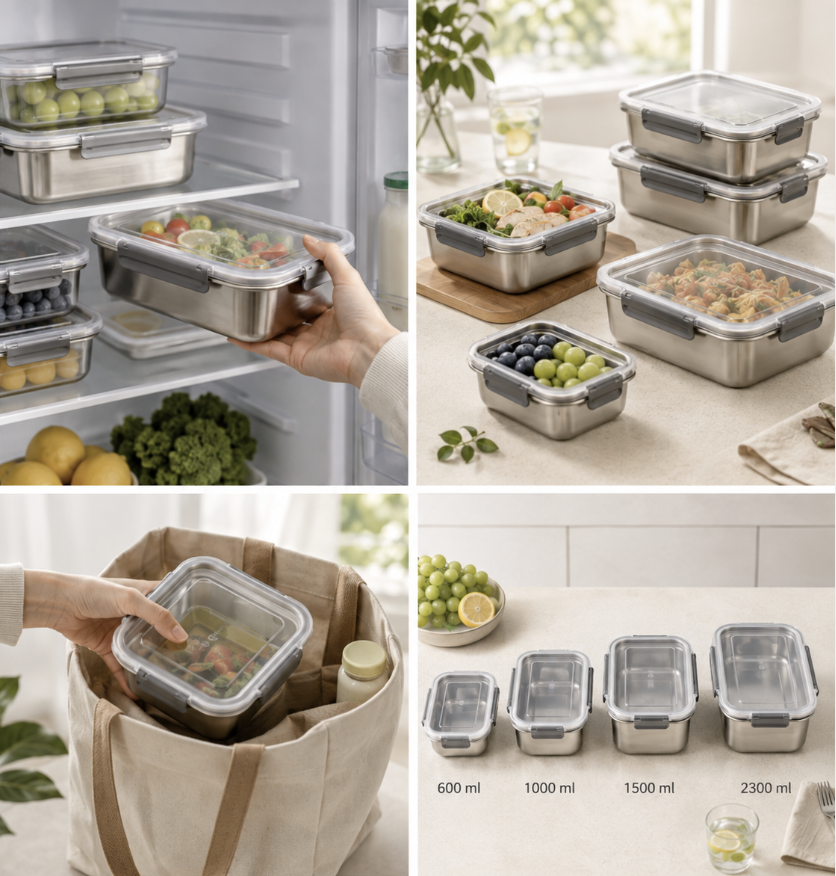
Details like color, size, materials, capacity, features, options, and how-to-use guides directly impact whether a customer decides to buy, so getting these right is priority number one. Rather than piling on tons of decorative images, it's way more important to make sure customers clearly grasp the product's features and whether it's a good fit for them.
Once your basic info is solid, picking out a hero visual, real-life usage scenes, and product details centered around your main selling points lets you put together a high-impact detail page design with relatively little content.
Prepare Usage Scenes and Visual Content Starting with the Most Important Ones
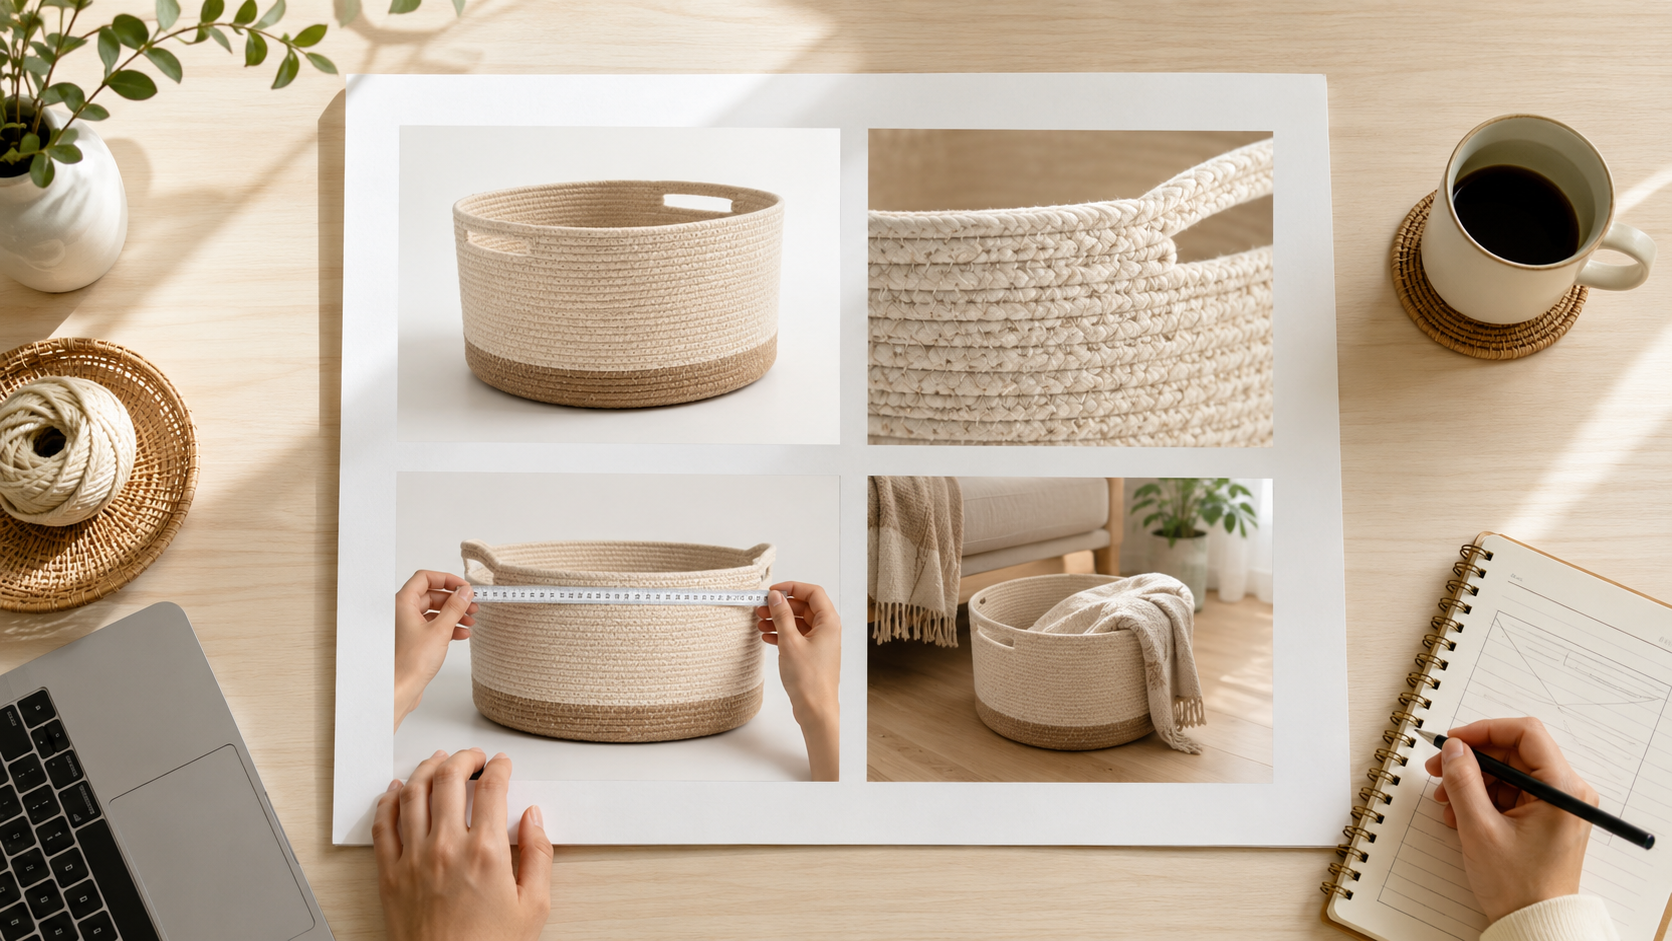
Real-life usage shots help customers picture what it's like to actually use the product, but you don't need to do a whole brand-new shoot for every single scenario. It's best to prep just one or two key shots that show off the product's perks the best, and pair them with the necessary product close-ups and feature explanations.
For a solo seller, cutting down on detail page production costs doesn't mean making less content, but rather cutting out repetitive or similar stuff and focusing your limited time and budget on what really matters.
Even if you narrow down the production scope, you still have to prepare images, sales copy, and detail page designs separately. If you're a solo seller who constantly needs to list new products, connecting these separate tasks into one single workflow is a much simpler and more efficient way to go.
Detail Page Content Checklist for Solo Sellers
| Category | What to Prepare First | Tips for Creation |
| Basic Product Info | Size, material, color, capacity, features, options | This info helps customers make a buying decision, so it's best to keep it as accurate and clear as possible. |
| Key Selling Points | Target audience, problems solved, main differences | Instead of trying to highlight every single perk, focusing on 2-3 main features first will make the core message of your page much clearer. |
| Main Visual | Images showing the overall shape and key features of the product | It's a good idea to set this up so that customers can quickly grasp the product type and main features as soon as they land on the detail page. |
| Real-life Use Shots | Photos of the product being used in real life or showing off its features | Just pick a few representative shots that fit the product's vibe; you don't need a ton of images. |
| Product Details | Details on material, structure, finish, and functions | You can use these to clear up any questions customers might have since they can't check the actual product in person. |
| Sales Copy & Info Order | Key Selling Points → Use Shots → Unique Differences → Detailed Info | It's best to organize it to match how customers naturally understand a product and check out buying info, making sure you don't repeat similar images or descriptions. |
4. Making Solo Seller Detail Pages a Breeze with Draph Art
All the struggles we talked about earlier—lack of experience, tight time and budgets, and wondering what content to prep—ultimately stem from the fact that solo sellers have to handle every step of making a detail page all by themselves.
Draph Art connects all the separate steps—from product planning and image generation to writing sales copy and designing the detail page—into a single, automated AI detail page workflow. No need to juggle separate AI image generation sites or multiple design tools. Just upload a single product photo and some basic product info, and even solo sellers can quickly check out a polished, high-quality detail page.
STEP 1. Upload your product photo and basic product info
First, get a clear product photo showing the overall shape, color, and main details, and type in the basics like the product name, key features, functions, size, and material. If you need to clean up the background of your product photo, you can use BG Removal to make your product pop. Even if you have zero experience making detail pages, there's no need to stress over complex page planning, staged shoots, or gathering design assets beforehand. You can kick off your detail page creation right now with just the product photos and info you already have on hand.

STEP 2. AI automatically generates detail page images, sales copy, and layout
Just type in your product info, and the AI will check out your product features to automatically make everything you need for a killer product detail page—like main visual shots, real-life usage scenes, close-up details, AI model pics, and catchy sales copy.
The generated images and sales copy are automatically dropped into a product page template that fits your item, complete with the right layout and info flow. This means you can handle image creation, copywriting, content planning, and product page design all in one go instead of doing them separately.


STEP 3. Tweak just what you need to finish your product page
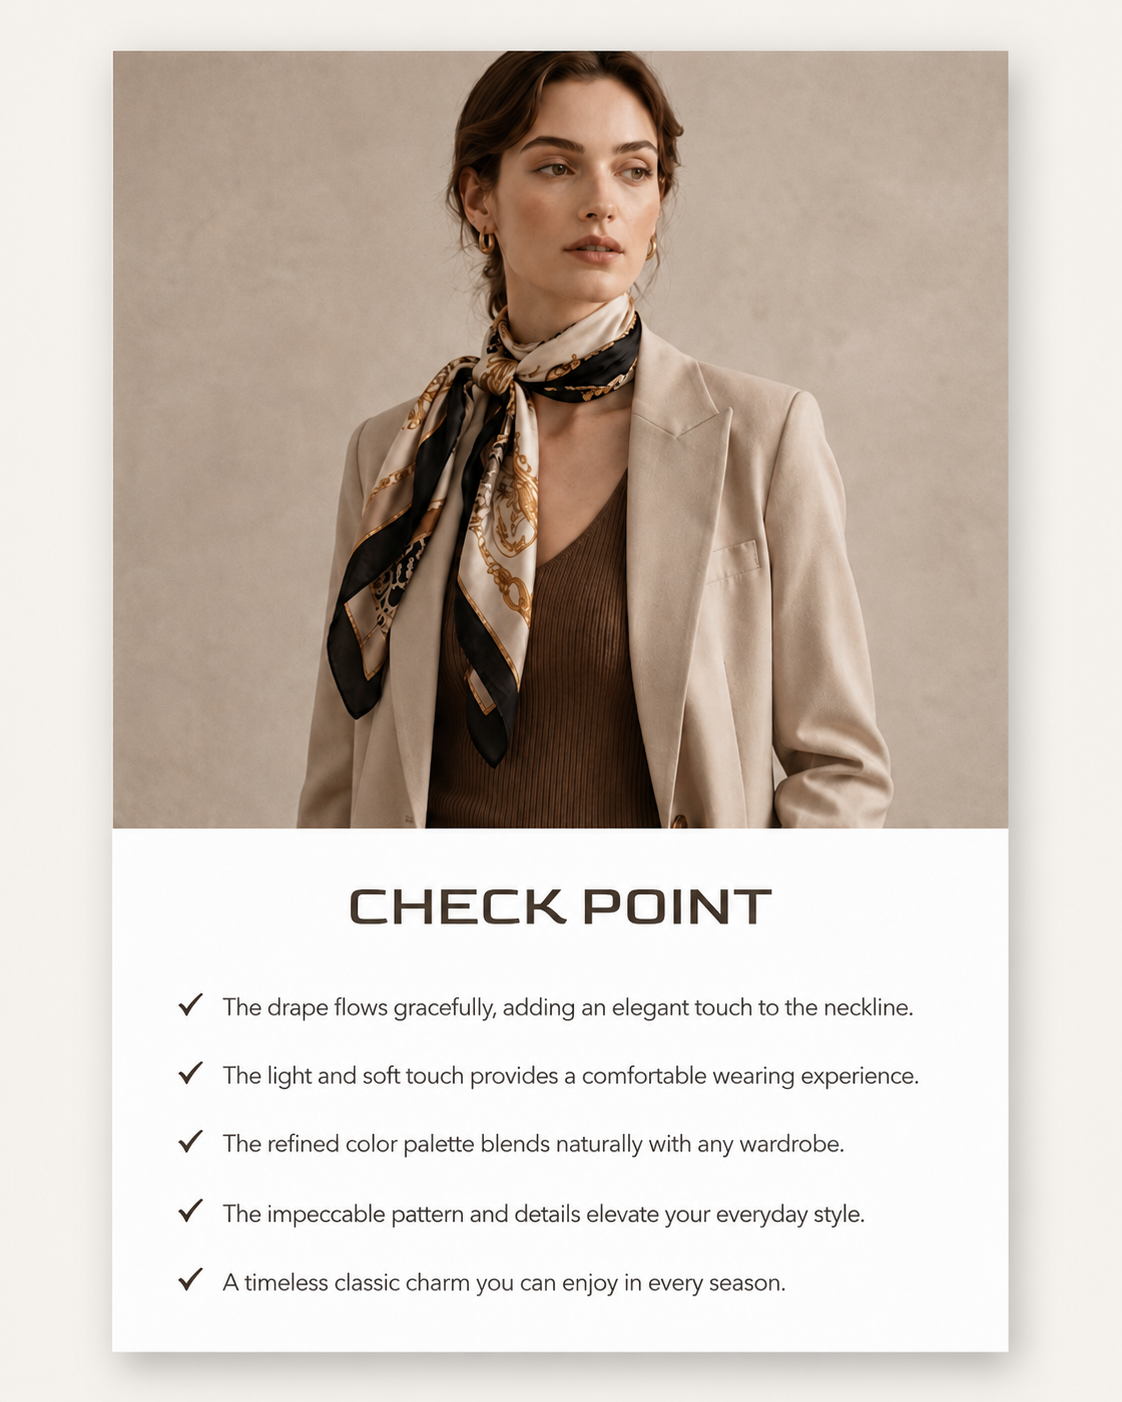
Once your product page is auto-generated, you can easily tweak just the parts you want to match your actual item and sales goals. If you aren't feeling a certain sales copy or image, just point out what needs fixing and adjust only that part. After double-checking the final look, you can use your finished product page on Smart Store, Coupang, and other online shopping malls to list your items and keep your pages updated later on.
For solopreneurs, the real perk of Draph Art isn't just cranking out one specific task fast. It's about bringing product planning, image creation, copywriting, and product page design together into a single workflow so you can finish building an entire product page simpler and faster, starting with just one single product photo.

💡 Frequently Asked Questions (FAQ)
Q1. Can a solopreneur build a product page without any prior design experience?
A1. Yep, totally! You don't need to master any complicated design skills beforehand. Just jot down the basics first, like your product's key selling points, target audience, size, material, and features. When you use Draph Art to build your product page with AI, just uploading a product photo and some basic info will automatically generate the images, sales copy, and layout. This makes it super easy for solo sellers with zero design experience to jump right in.
Q2. At least how many product photos do solopreneurs need to get started on a product page?
A2. With Draph Art, you can get started with just one clear product photo that shows the overall shape, color, and key details. Since the AI can spin up all the images you need—like main visuals, real-life usage shots, product detail images, and feature highlights—you don't need to stress over stacking up a bunch of photos before you begin. You can always add more pics later depending on what you're selling and what you want to show off.
Q3. How long does it take a solopreneur to make a product page?
A3. Once you drop in just one product photo along with basic info like the product name, key features, and functions, you can check out a rough product page draft in about 3 to 10 minutes. The actual time might change depending on how many images you generate and how much tweaking you do, but using AI cuts out the hassle of doing image creation, copywriting, and design separately, drastically speeding up product page creation for solopreneurs.

.png&w=1920&q=75)
.png&w=1920&q=75)