
.png&w=1920&q=75)
목차

Even if your skincare products have great ingredients and benefits, why is it sometimes so hard to win consumer trust through your product detail page?
Shoppers aren't checking your skincare product page to read the whole manual. They are quickly trying to figure out if it helps solve their skin concerns, is a good fit for their skin type, and is worth the buy. It is crucial to highlight key information clearly so customers can understand your product in seconds, boosting both comprehension and trust.
Recently, as detail page design trends shift toward readability and production efficiency, the creation process is increasingly becoming AI-driven. Draph Art is an AI tool that automatically generates the copy, visual effects, and layout needed for skincare product pages using just one product photo and basic info.
In this post, we’ll look at the step-by-step workflow for creating a traditional skincare product page and explore how AI tools can streamline the entire process.
💡 TLDR: 3-Point Summary for Busy Readers
|
1. Why is it so hard to make a great skincare product page?
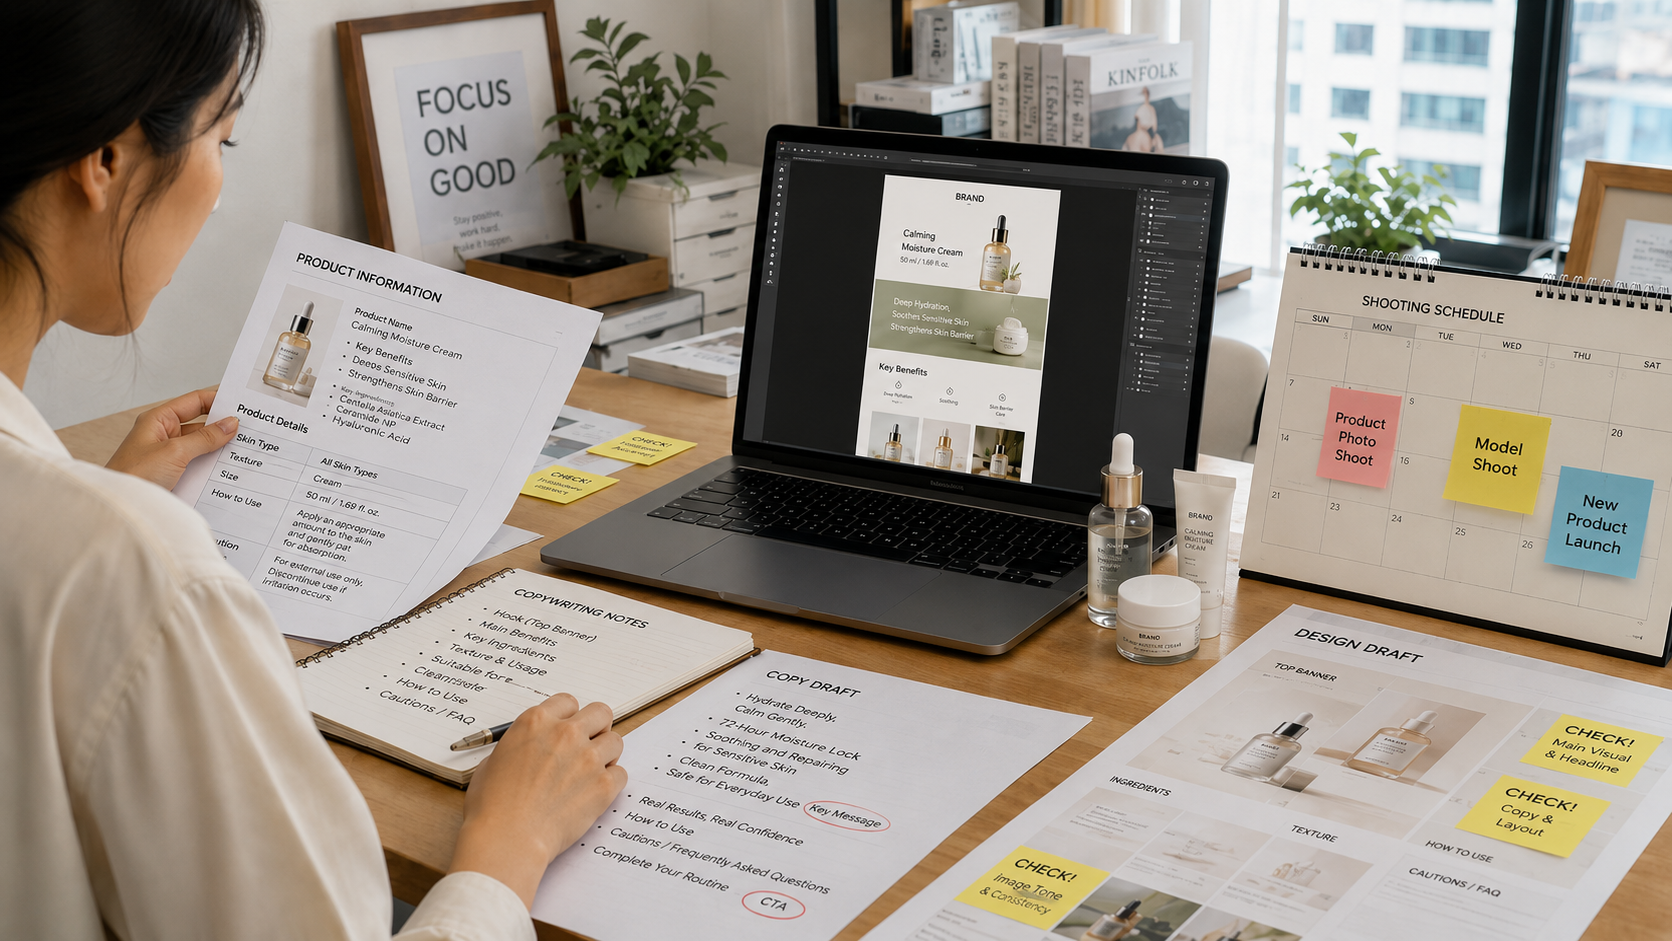
Many people think a cosmetic product page is just listing images, ingredients, and purchase info. But in reality, a high-quality page requires careful planning, professional photography, compelling content, smart layout design, and testing before launch.
Since skincare products go directly onto the skin, users specifically look for benefits, ingredients, skin type suitability, usage, and safety. This sets a high bar for content quality, visual appeal, and brand credibility.
2. Skincare Product Page Creation Process at a Glance
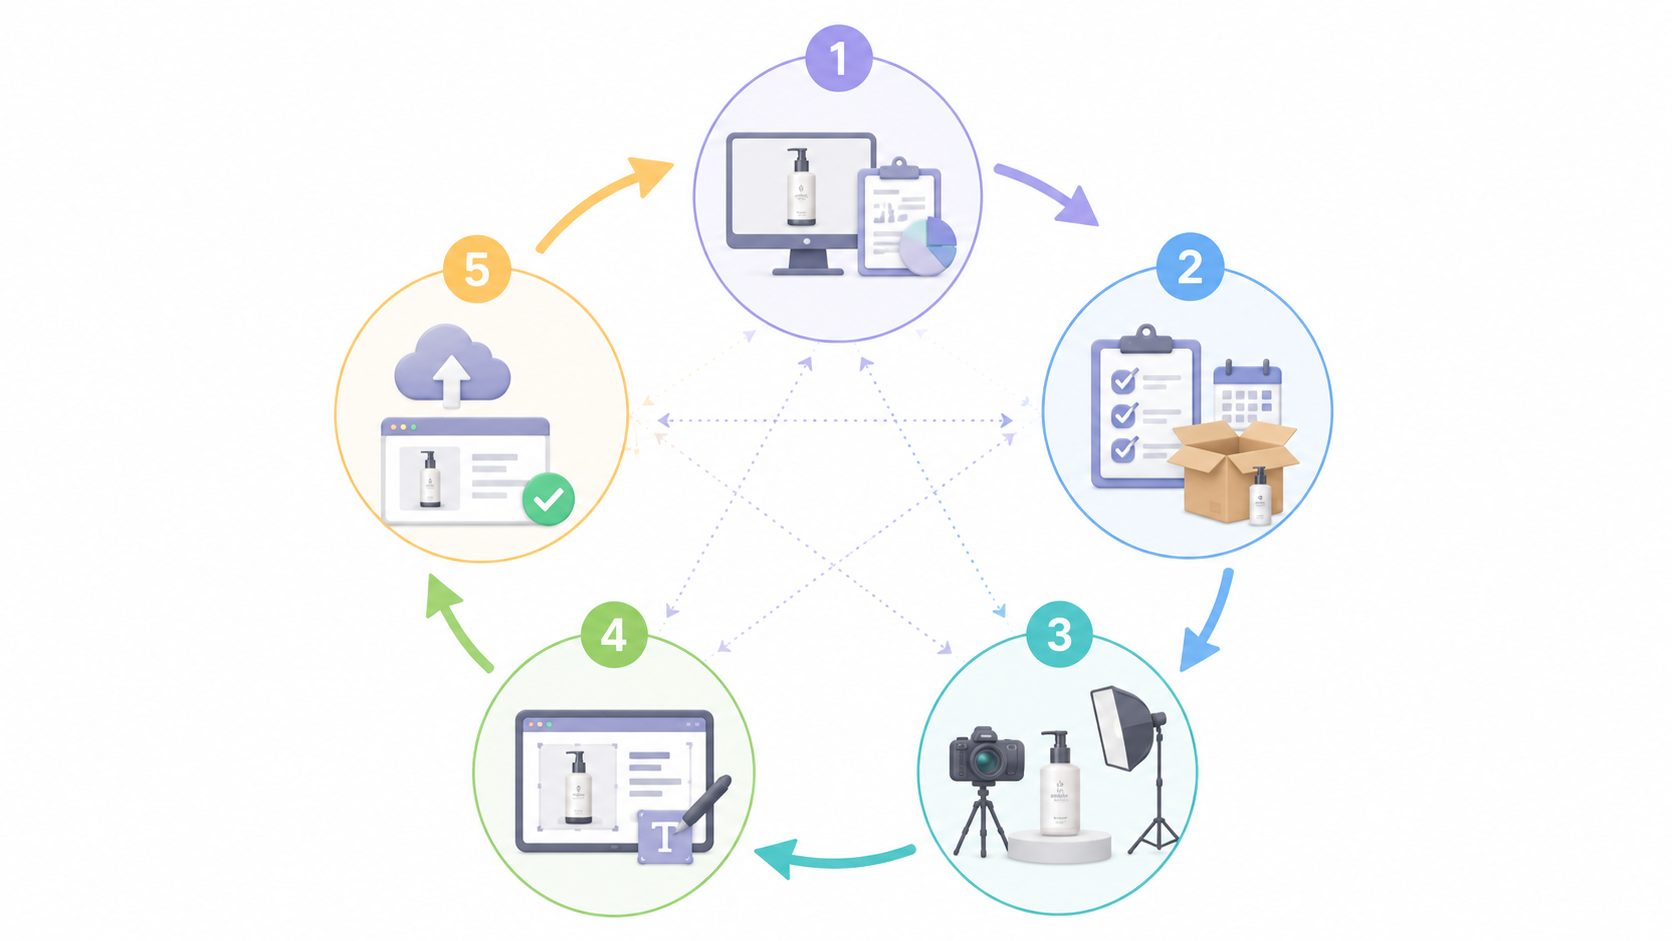
| Production Stage | Main Tasks | Key Checklist |
| STEP 1 | Data Organization & Strategy | Key benefits, ingredients, target skin concerns, and selling points |
| STEP 2 | Shoot Planning & Resource Prep | Models, location, props, and image checklist |
| STEP 3 | Photography (Product, Model, Usage) | Product texture, natural application shots, brand mood |
| STEP 4 | Editing, Copywriting, and Design | Readability, visual consistency, page flow |
| STEP 5 | Revisions, Platform Optimization, & Upload | Mobile view, image specs, HTML coding, and final check |
3. The 5-STEP Skincare Product Page Process
STEP 1|Organizing Data & Setting the Direction
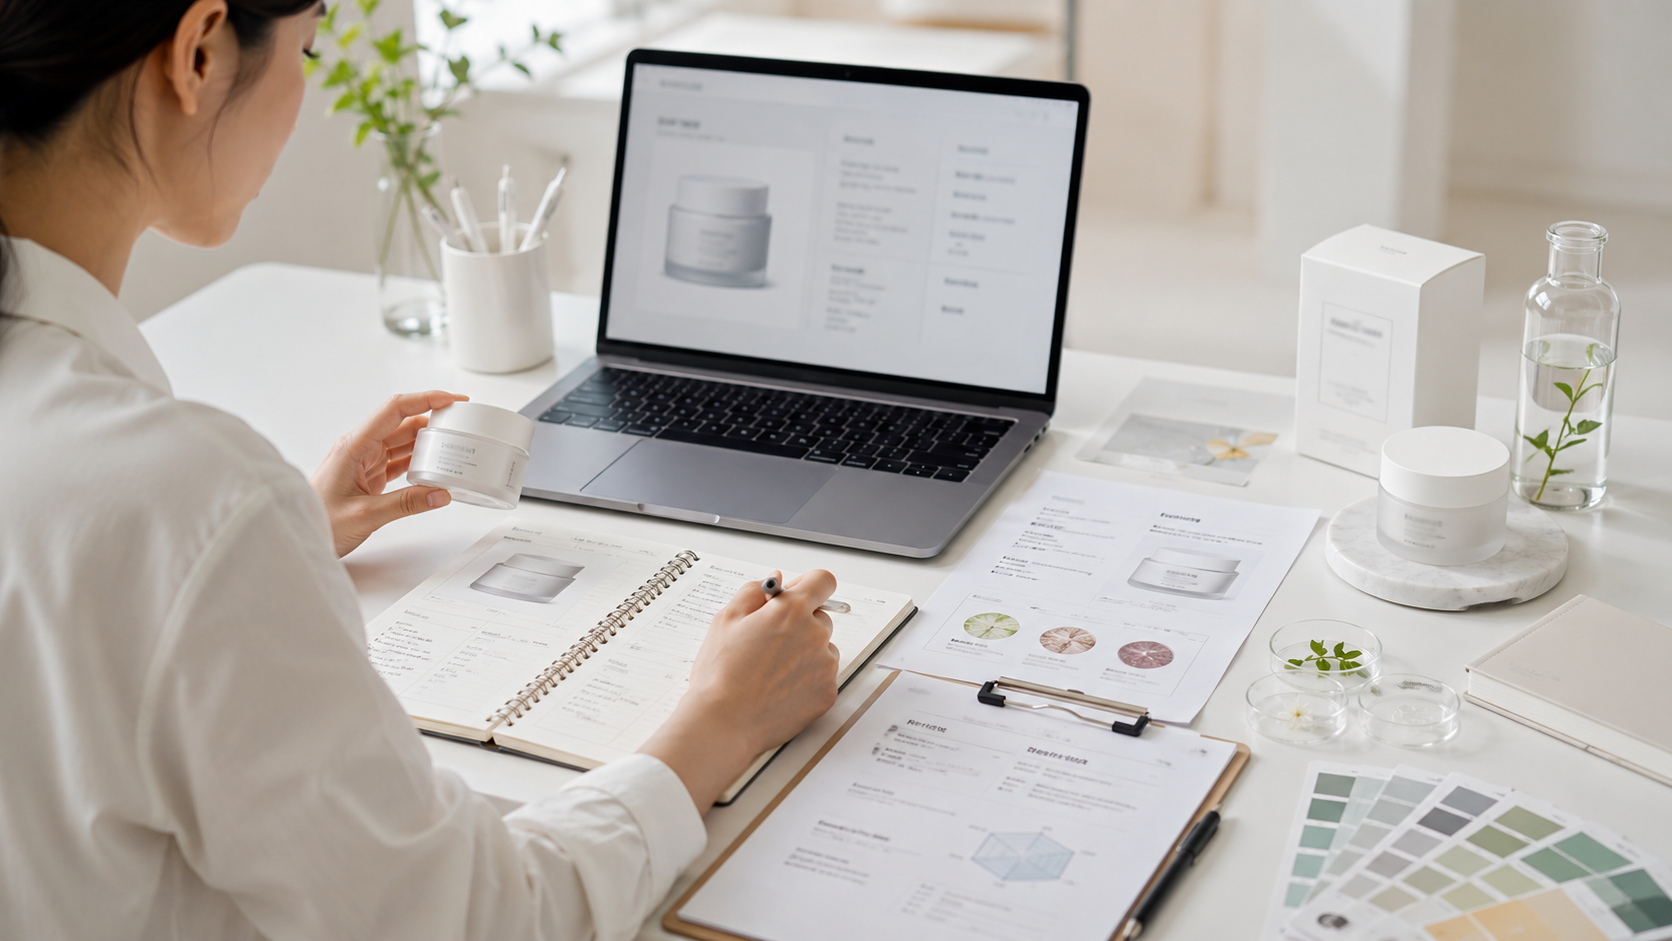
Before designing the page, map out the reader's journey and collect or organize the following product basics:
- Product name, size, and specifications
- Key Ingredients and Formula Features
- Main Benefits and Target Skin Concerns
- Suitable Skin Types and Target Audience
- How to Use and Precautions
- Tests, Certifications, or Brand Credibility Materials
- Pricing, Promotions, and Sales Channels
Based on this, operations or product managers need to finalize the core communication direction for the product detail page.
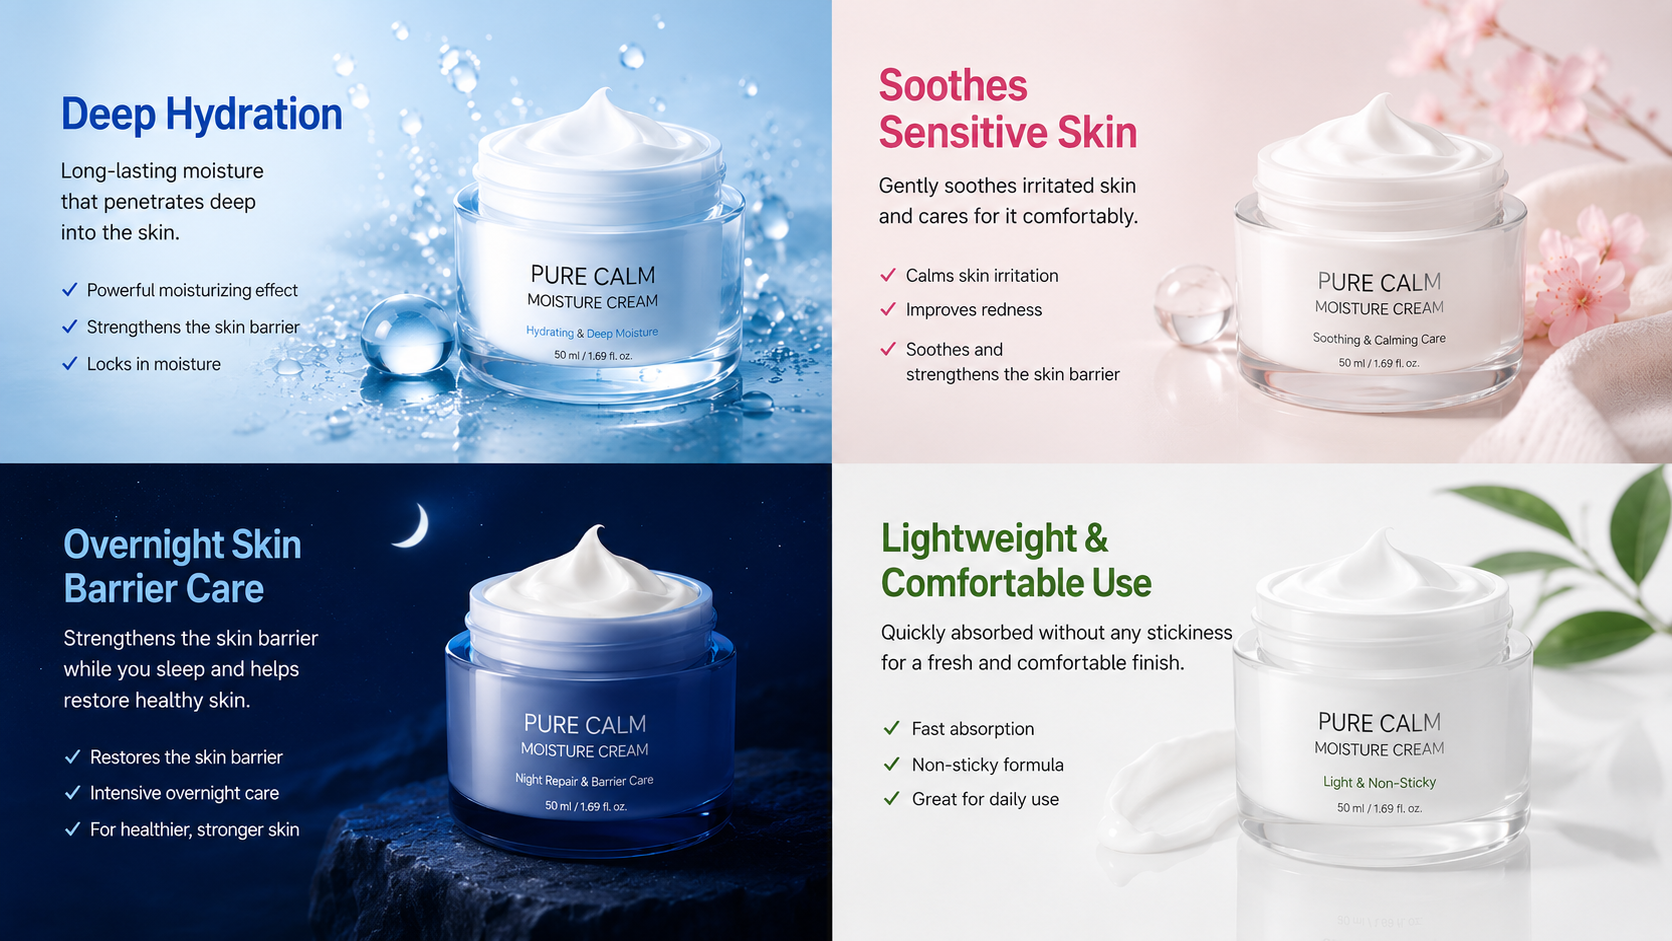
For instance, for the same cream, you could highlight "deep hydration," "soothing sensitive skin," "overnight skin barrier care," or "a light, non-sticky finish." If you don't nail down the key selling points beforehand, it’s easy for the focus to get scattered during the copywriting, shooting, and design phases.
STEP 2|Shoot Planning, Model Casting, and Setting the Scene

Once the page layout is set, you need to prepare the right visuals for each content module.
When shooting a product page for skincare, you typically need to capture these:
- Close-ups of product packaging and details
- Texture shots of the serum, cream, or lotion
- Application shots on hands or face
- Results showing the product on a model's skin
- Routine shots of morning or nighttime skincare
- Lifestyle scenes in bathrooms, vanities, or bedrooms
- Images featuring core ingredients and product concepts

To get these photos just right, the brand needs to coordinate with photographers, models, and studios, and prep props like mirrors, towels, plants, trays, water droplets, or raw ingredients.
You need to confirm everything from the model's look and shooting style to the lighting tones and product positioning beforehand. Even one small mistake in the prep phase can mean you won't get the shots you expected on the day of the shoot.
STEP 3|Product, Model, and Lifestyle Photography
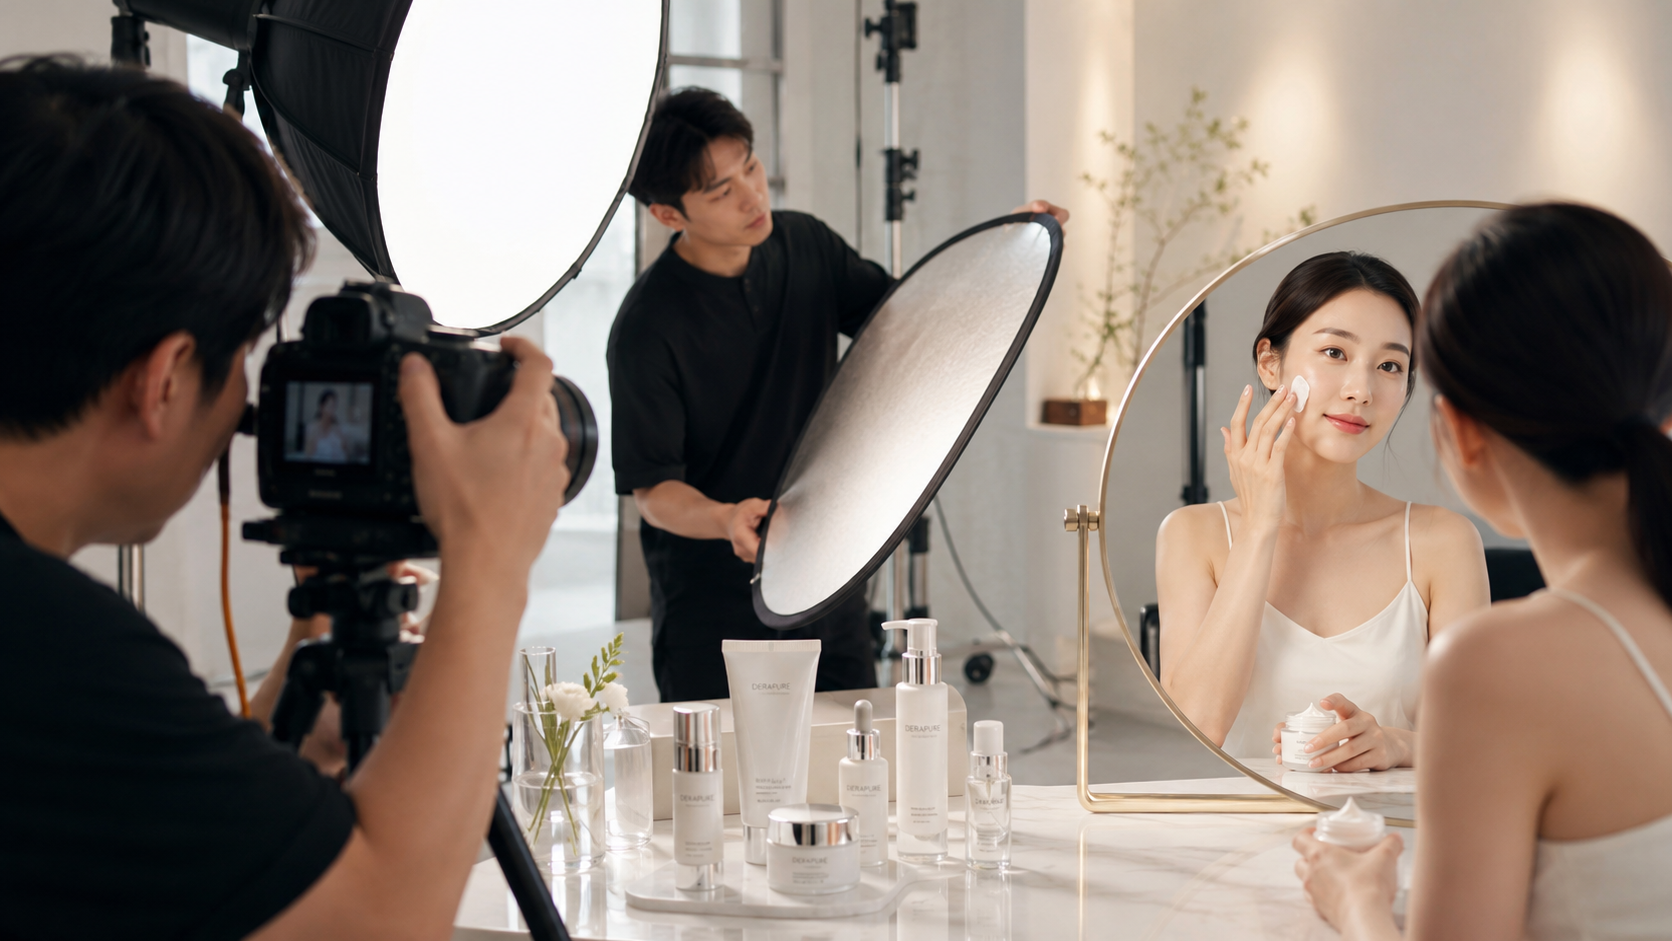
During the actual shoot, you have to manage the product texture, the model's poses, and the overall mood of the scene all at the same time.
For product shots, you need to handle reflections on packaging and show off the fine details. For model shots, you need to capture natural application, skin condition, and a genuine experience. Plus, lifestyle photos should perfectly match the brand's vibe—whether it’s soft, minimalist, healing, or luxurious.
Common issues that pop up during shooting:
- Difficulty coordinating schedules for models and studios
- Trouble capturing a premium feel due to reflections on packaging
- Unnatural poses or the product not being positioned clearly
- Inconsistent lighting and color tones across different scenes
- Finding out after the shoot that you missed shots for certain page modules
If the results don't meet your expectations, you might have to re-book the team and studio for a reshoot, which not only delays your timeline but also adds extra costs.
STEP 4|Photo Editing, Copywriting, and Page Design
Just because the photoshoot is done doesn't mean your product page is ready.
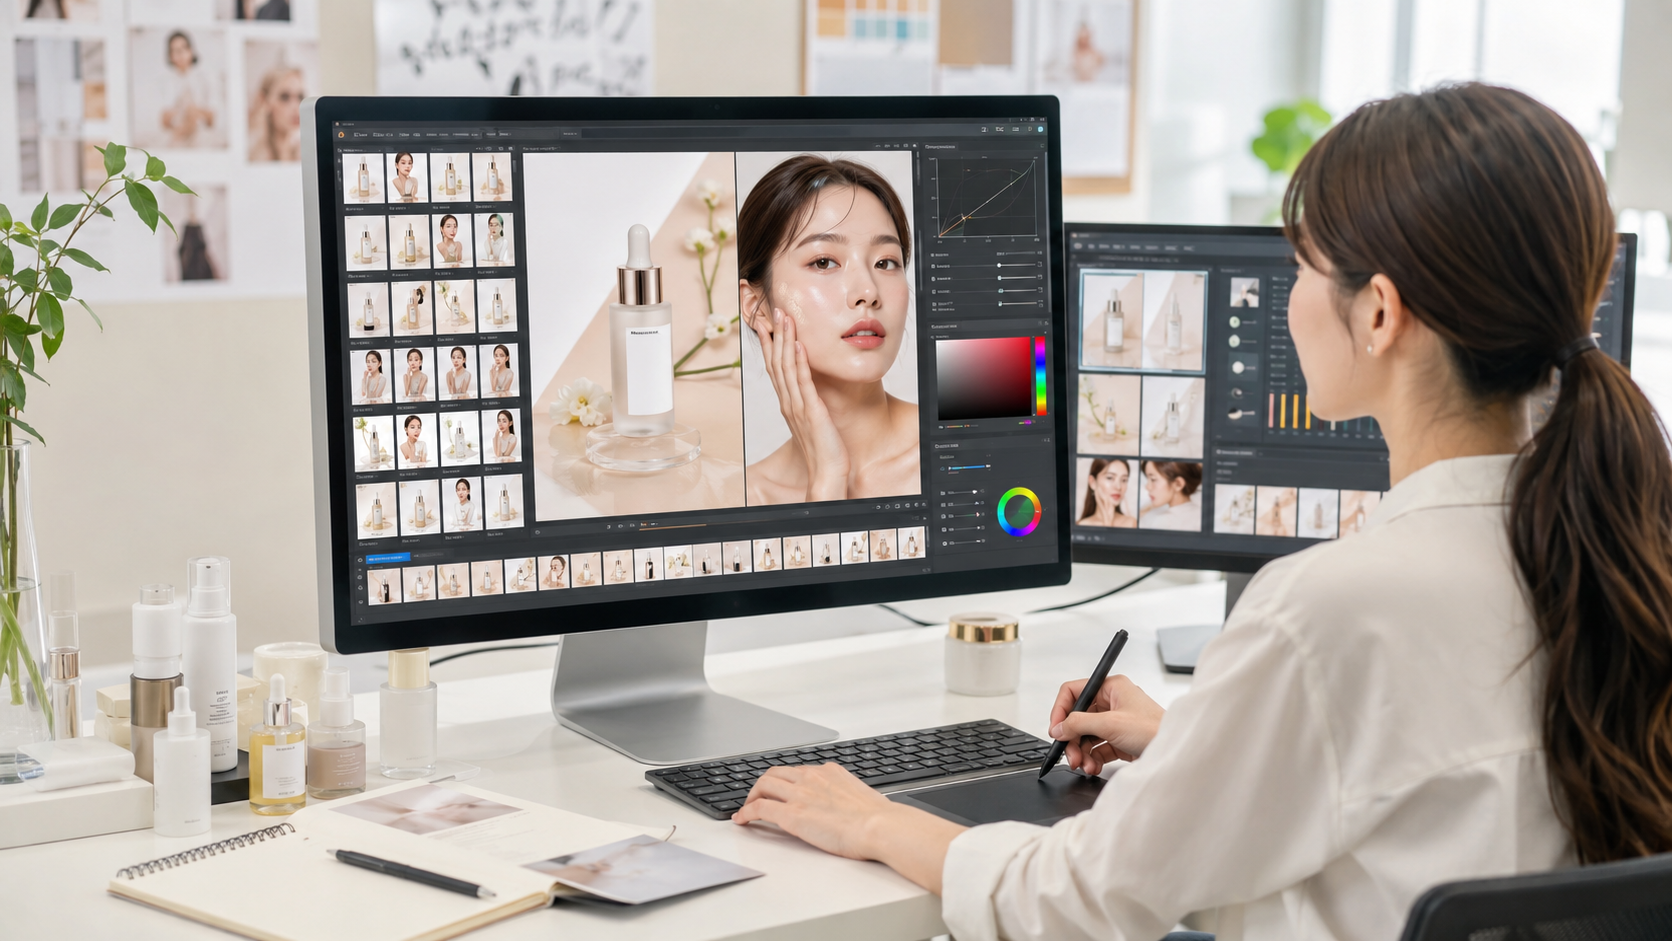
First, you need to select the best shots from thousands of raw files, then retouch the product, adjust the model’s skin tone, clean up the background, and make sure all the colors look consistent.
At the same time, the copywriter needs to prepare the following:
- Hero image headline
- Key product benefits
- Ingredient details and how they work
- Target skin types
- How to use
- Texture and feel
- Warnings and FAQs
Only after the photos and copy are ready can the designer start laying out the page, combining everything to create a high-quality product detail page.

In this step, it's not just about making the page look pretty—it's about making sure users can find the key info fast. If there's too much text, users won't read it, but if you focus only on visuals, you might fail to explain why your product is actually worth buying.
STEP 5|Reviewing, Optimizing for Platforms, and Going Live
Once the first draft is done, it usually has to go through several rounds of checks with the product, ops, brand, and design teams.
Common revisions usually include:
- Swapping the hero image
- Rearranging key selling points
- Tweaking ingredient or benefit descriptions
- Adding more info on skin types or usage tips
- Replacing model or background photos
- Adjusting fonts, color tones, and page length

Because the images, text, and layout are so closely connected, changing just one sentence in a headline might mean you have to redo the whole section.
Once the page is finalized, you need to slice, compress, code in HTML, and optimize for mobile based on each e-commerce platform's specific size and format requirements, before finally uploading and checking if everything looks right.
If there are any changes to product packaging, promo prices, or ingredient info, you'll need to reach out to the relevant team to update it later on.
4. The Way We Create Product Detail Pages is Changing
We've looked at how much one product page affects a customer's decision and what you need to prep for a photoshoot. Even a tiny detail can change how professional and trustworthy your product looks, so it's super important to be organized from planning and styling to shooting and editing.
Also, recent product detail page design trends are moving beyond just looking good; they are focusing on mobile-friendly layouts, fast information delivery, and efficient content creation using AI.

The way we make these pages is evolving, and more brands are using AI-based services to cut down on repetitive work and create content more efficiently.
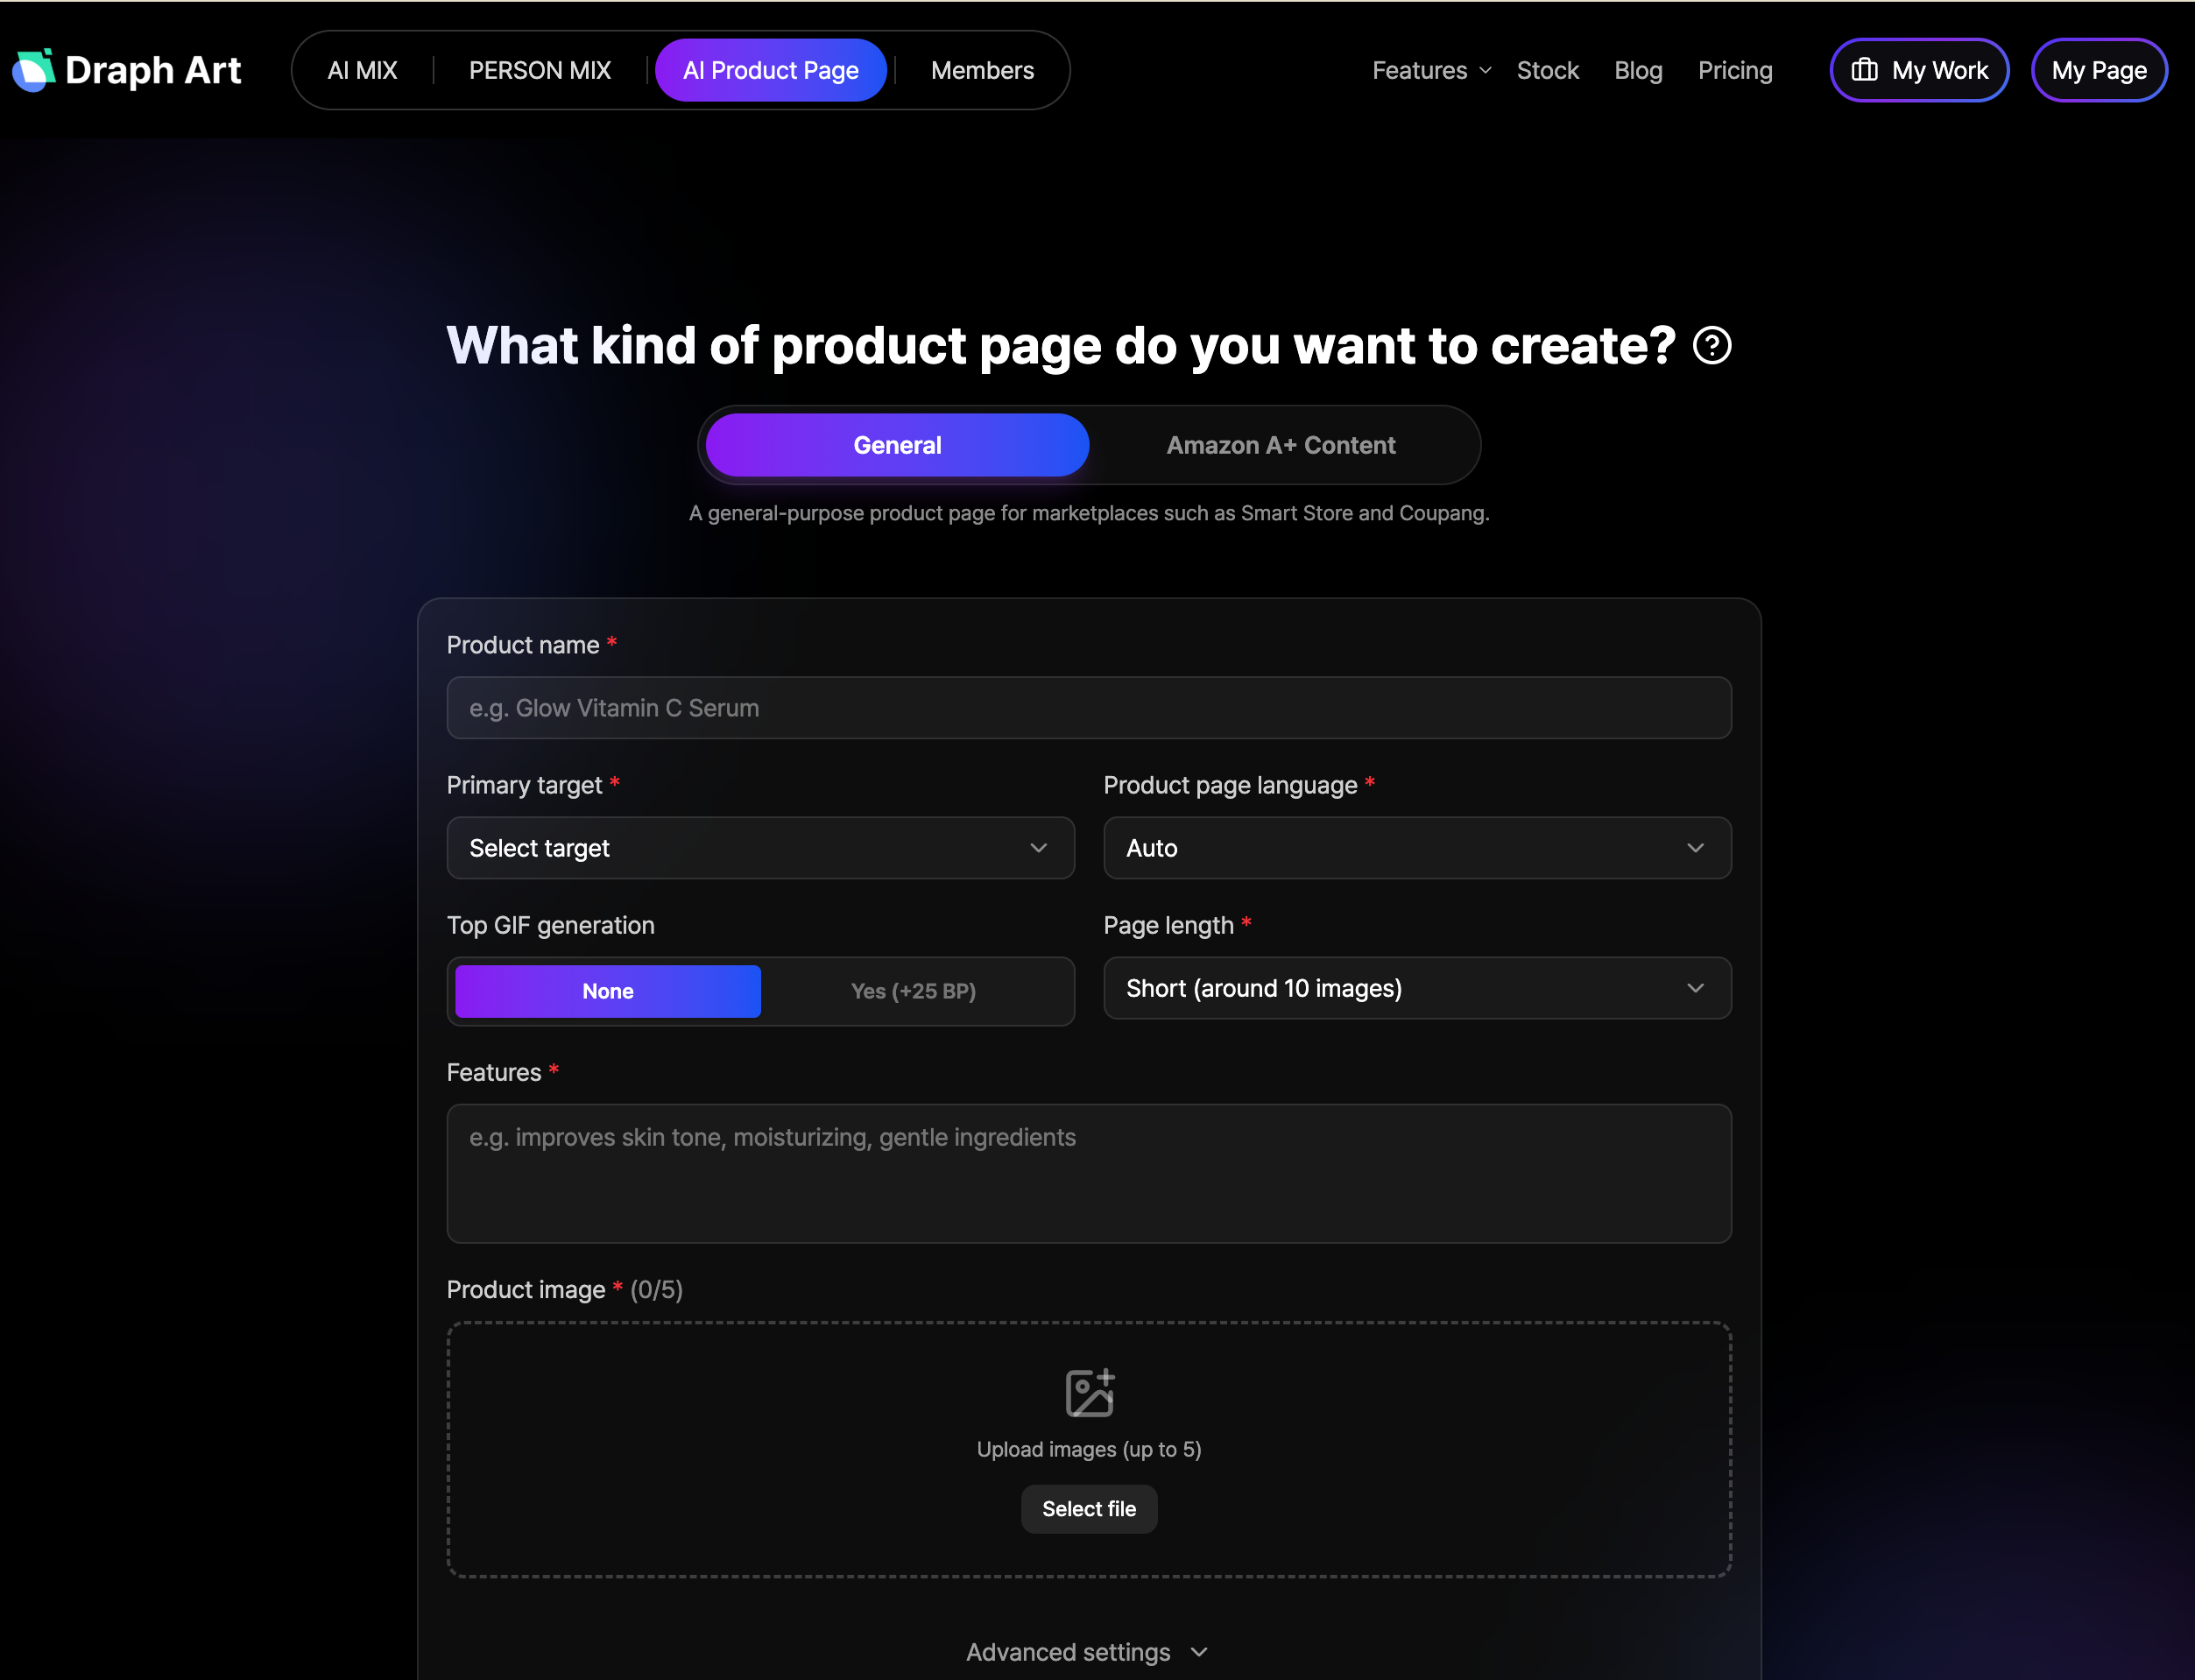
Draph Art is an AI-powered automated detail page generator that takes just one raw photo and handles everything from planning and copywriting to custom image styling and layout design.
Give it a try right now!
👉 [Try out the AI detail page maker https://draph.art/en/detail-page-maker]
Frequently Asked Questions (FAQ)
Q1. What information should I prepare before creating a skincare product detail page?
A1: You need to prepare basic info like the product name, volume, key ingredients, main benefits, suitable skin types, and directions/precautions for use. It's also helpful to organize your key selling points and a list of images you need, such as product model shots, ahead of time.
Q2. Do I absolutely need professional photography to create a skincare detail page?
A2: In traditional production, professional photography is usually necessary to capture product texture, package details, and model shots. However, by using Draph Art, you can also use your basic product photos and info to generate background images, product staging scenes, AI model shots, and full detail page content.
Q3. How can I create a skincare detail page using Draph Art?
A3: With Draph Art, you just enter your product photo and basic info like product name, key benefits, ingredients, and skin type, and the detail page creation is handled automatically. The AI generates the page structure, copywriting, product staging images, and layout for you. You can easily edit or regenerate any specific section as needed. You can use the final output as an image or in HTML format. Check out this blog post to learn more!
In this post, we've walked through the key steps and preparations needed to complete a skincare detail page. In our next post, we'll dive into how to create high-quality skincare product images more easily and efficiently—without needing a studio or professional gear. We'll share practical tips on how to save time and budget while still getting professional-grade results, so stay tuned for the next update!
👉 Check out the next post to see how to create skincare detail pages even more easily!