
.png&w=1920&q=75)
목차
- 💡 TLDR: 3-point summary for those in a hurry
- 1. Fashion accessory detail pages must lead with styling value
- 2. How to build a high-converting fashion accessory detail page: Images & Content
- 3. Fashion Accessory Product Pages Need Different Key Selling Points Based on Product Type
- 4. AnAI toolto make creating product pages easier and faster - Draph Art
- Frequently Asked Questions (FAQ)

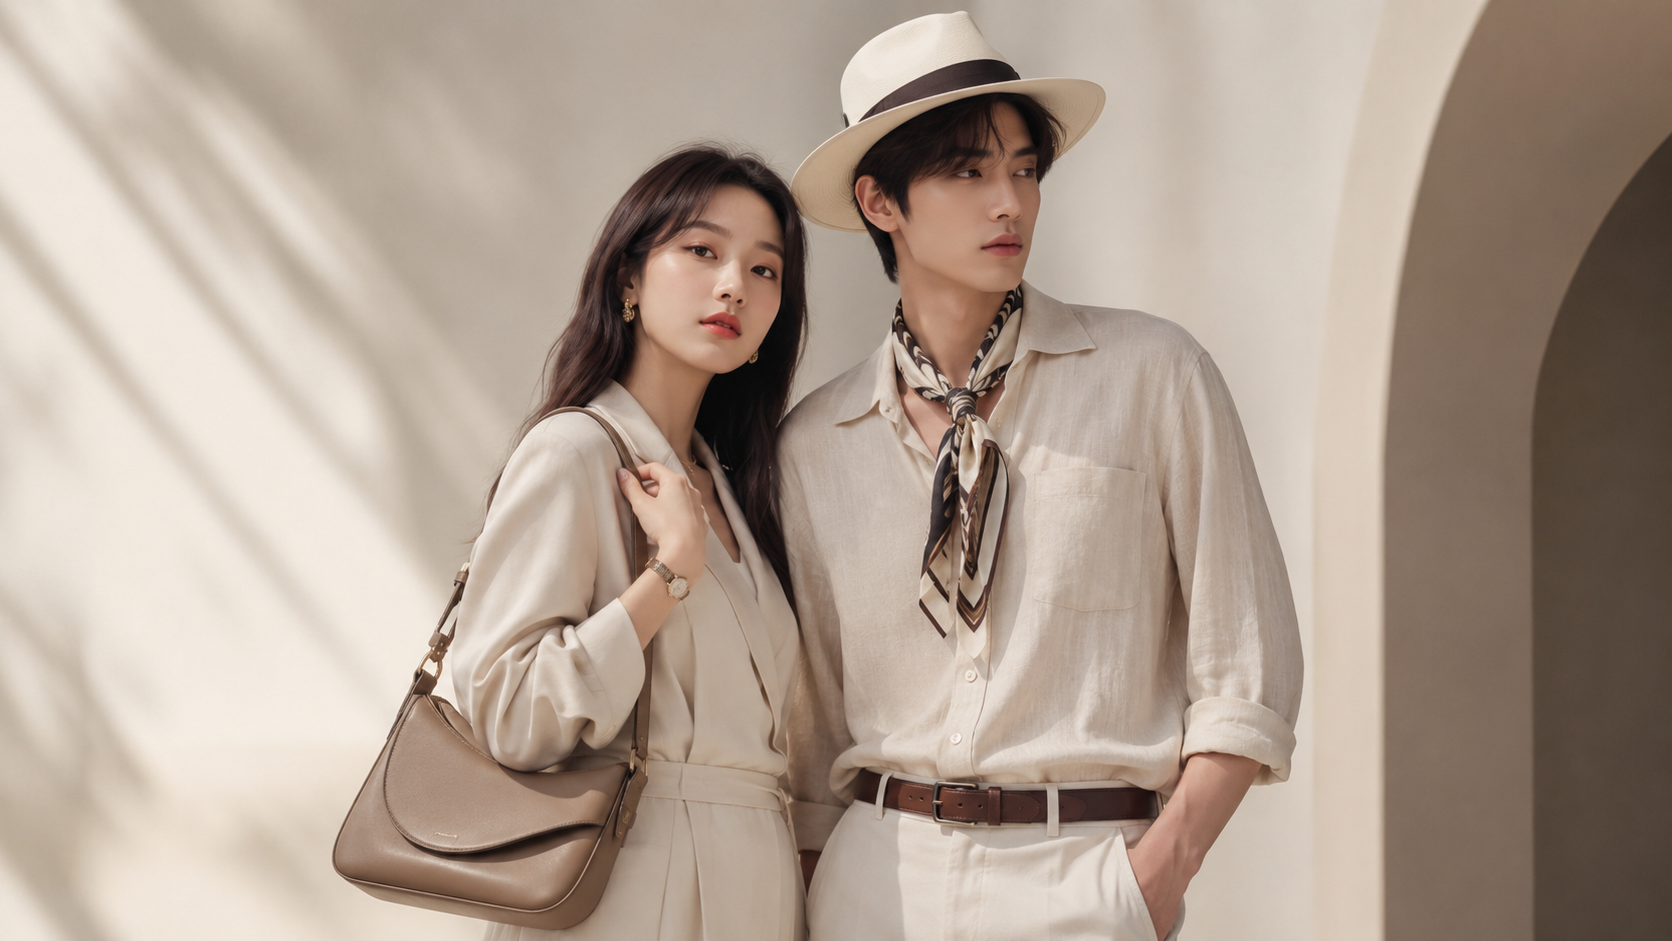
Fashion accessories like bags, hats, and scarves are small, but they are vital for setting the mood of your entire look. Shoppers don't just check the color and design; they want to see the scale, how well it pairs with clothes, how it's used in real life, and the fine details. But with just a basic product photo on a white background, it's hard to show off how it actually looks when worn or how to style it.
Draph Art is an AI tool that automatically builds product detail pages. It takes a single product photo and transforms it into AI model photos, close-up details, lifestyle styling shots, and ready-to-sell fashion accessory detail pages. It also automatically applies templates and visual styles based on the latest e-commerce design trends to create a professional-looking fashion accessory detail page that matches your brand's unique vibe. In this post, we'll cover how to structure a high-converting fashion accessory detail page, the key selling points for each product type, and how to create your detail pages using Draph Art.
💡 TLDR: 3-point summary for those in a hurry
|
1. Fashion accessory detail pages must lead with styling value
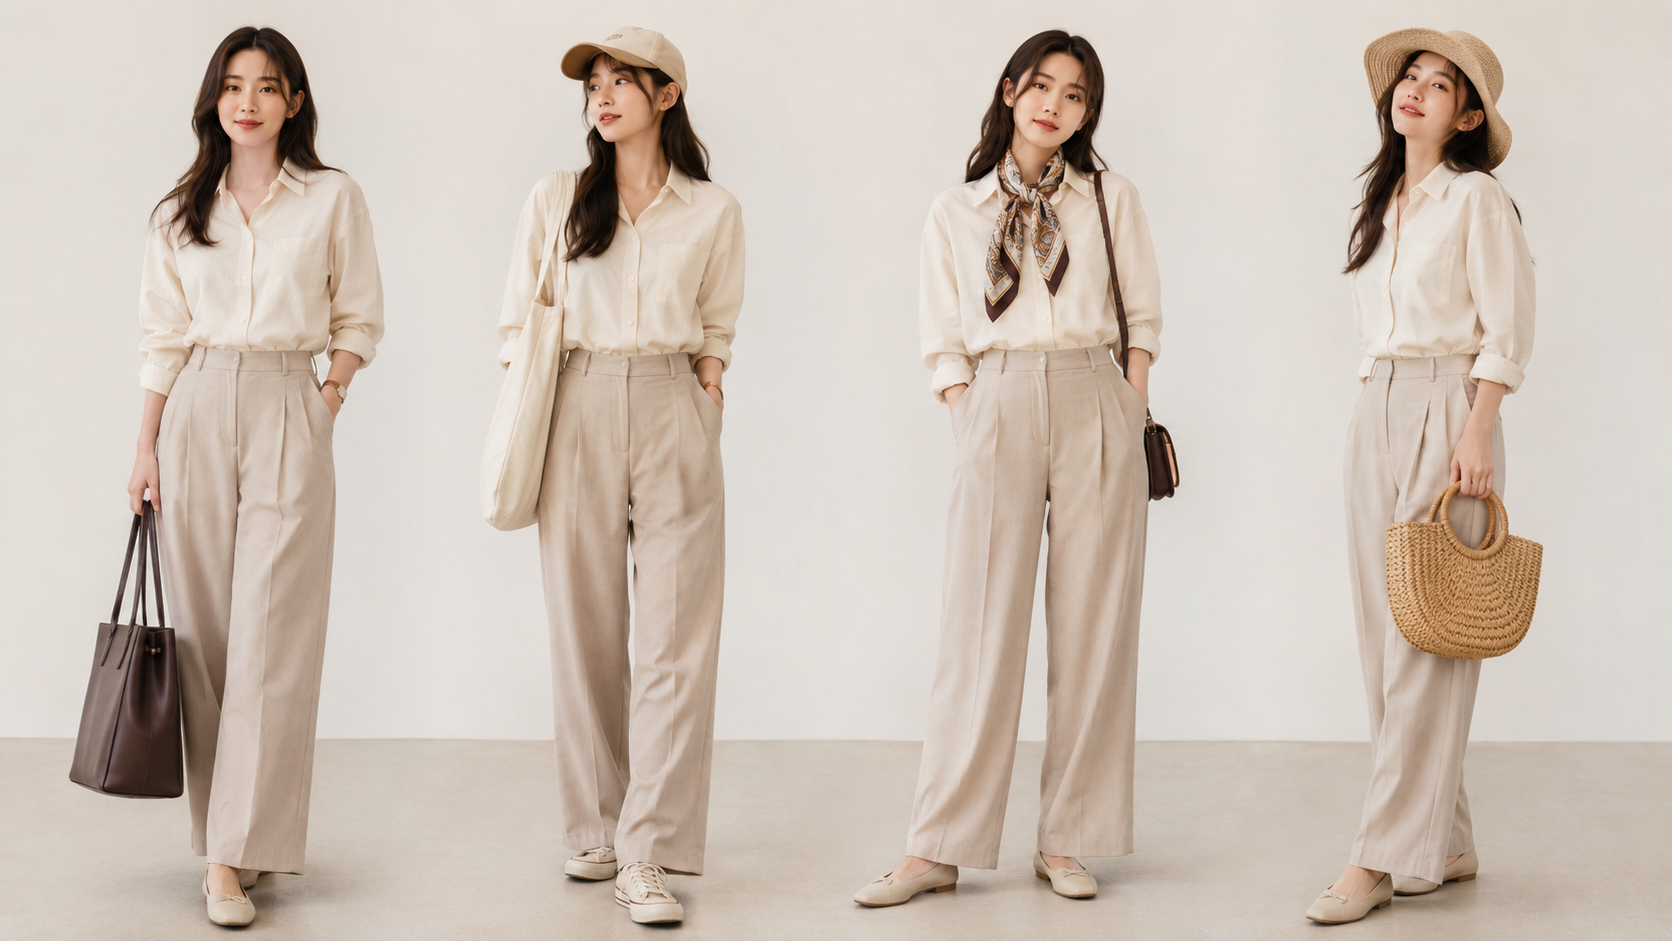
While clothes might define your base silhouette, accessories like bags, hats, belts, and scarves often define the final vibe of the outfit. Even if you’re wearing the same clothes, the accessories you pick can completely change your style to office wear, casual, vintage, or a vacation look.
That’s why when shoppers buy accessories, they don’t just look at whether the product itself is pretty—they consider the following:
- Does it match the clothes I already own?
- What style or situation can I wear this in?
- Does the size and proportion look natural when worn?
- Can I style this one item in different ways?
- Can I use this daily in my outfits?
This means a fashion accessory detail page shouldn't just show what the item looks like. It needs to be built so that shoppers can intuitively grasp the styling effect and how useful it will be for them.
2. How to build a high-converting fashion accessory detail page: Images & Content
The traditional approach: Just showing product photos and specs in order
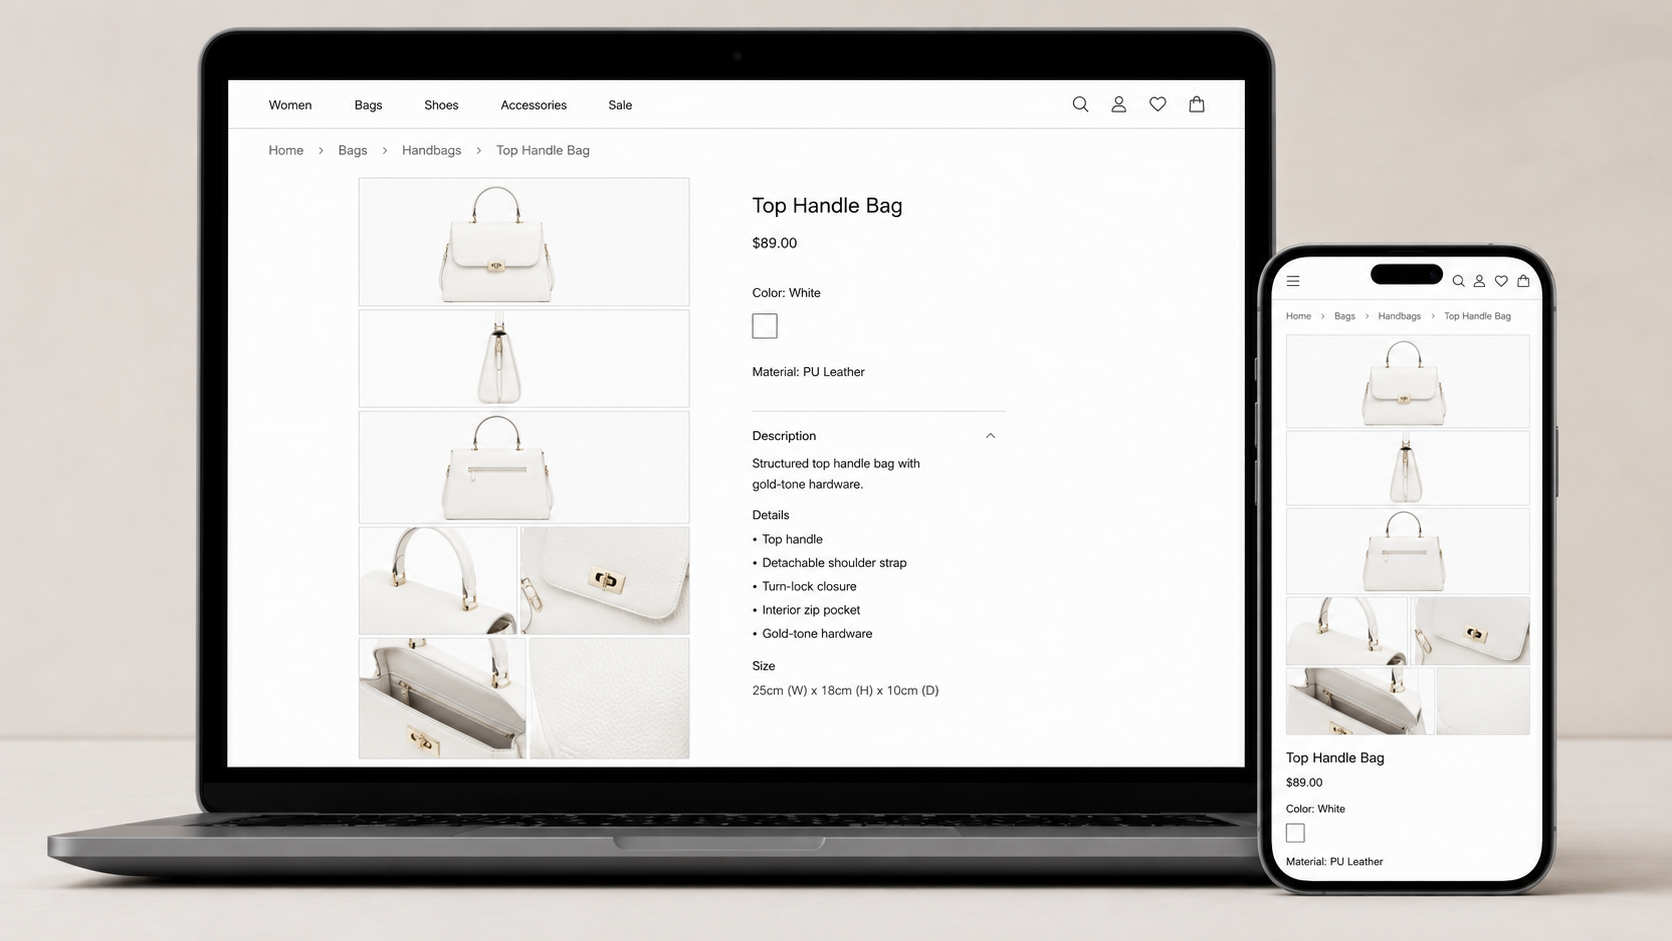
Before you start shooting, it’s key to organize your layout and the photos you need. Traditionally, fashion accessory pages follow a standard order: white-background shots, front/side/back angles, close-up details, and then basic specs like size, material, and color.
This is good for showing dimensions and basic specs. But because there’s no real-life context or styling connection between images, the shopper only sees an isolated product, making it hard to imagine how it fits into their life or outfits.
Especially for bags, hats, belts, and scarves, multiple angles show ‘what the product is,’ but fail to convey ‘how it transforms your overall style when worn.’
A high-converting detail page: Helping customers decide to buy faster
The best-performing fashion accessory detail pages don't just list product info; they look more like a lookbook or a mini styling editorial.
They start with an atmospheric main visual to set the style, followed by model shots, outfit pairings, and lifestyle imagery to help the shopper easily visualize how it fits their look.
To help shoppers understand the style and value, try including this type of content:
- Main product visual and key selling points
- Model shots or real-life usage photos
- Styling ideas for different outfits and occasions
- Actual size, scale, and usage tips
- Material, surface texture, and hardware details
- Bag interior storage and structure
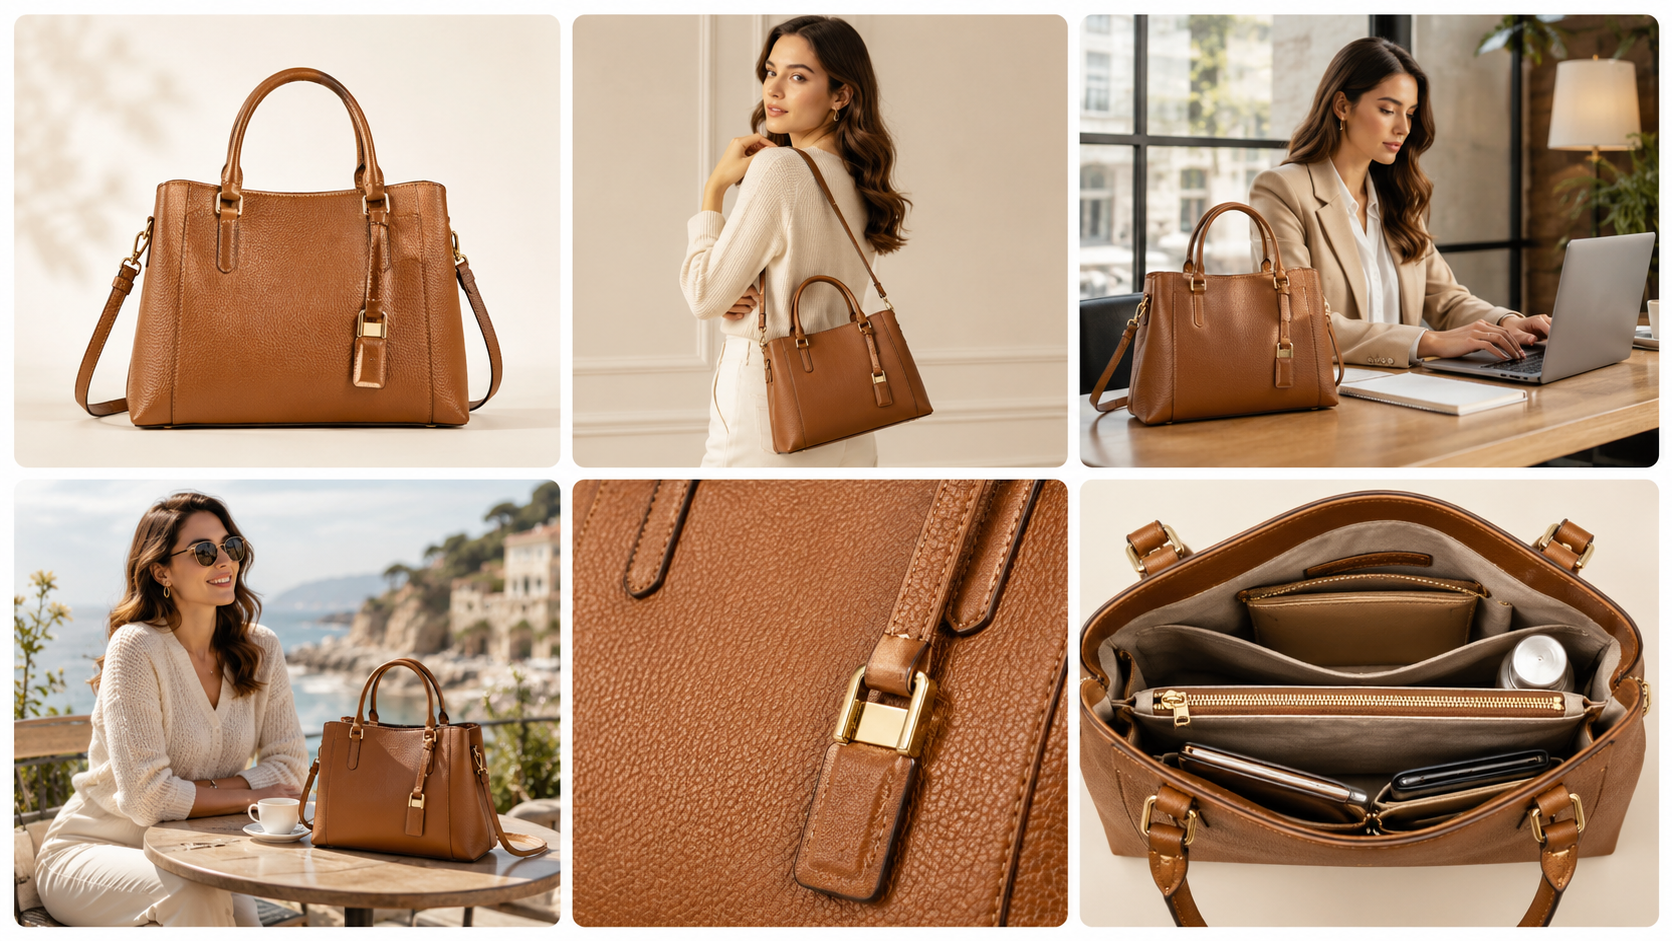
The key isn't just about adding more images; it's about using each piece of content to answer any questions customers have before buying.
The main visual grabs the shopper's attention, while model shots show how it looks when worn and styled. Lifestyle images show how the product fits into everyday life, and detail shots help confirm the quality of materials and finishes. When this content flows together naturally, shoppers move from just 'looking at a product' to actually 'imagining themselves using it.'
Comparing fashion accessories product pages: Average vs. Top-selling
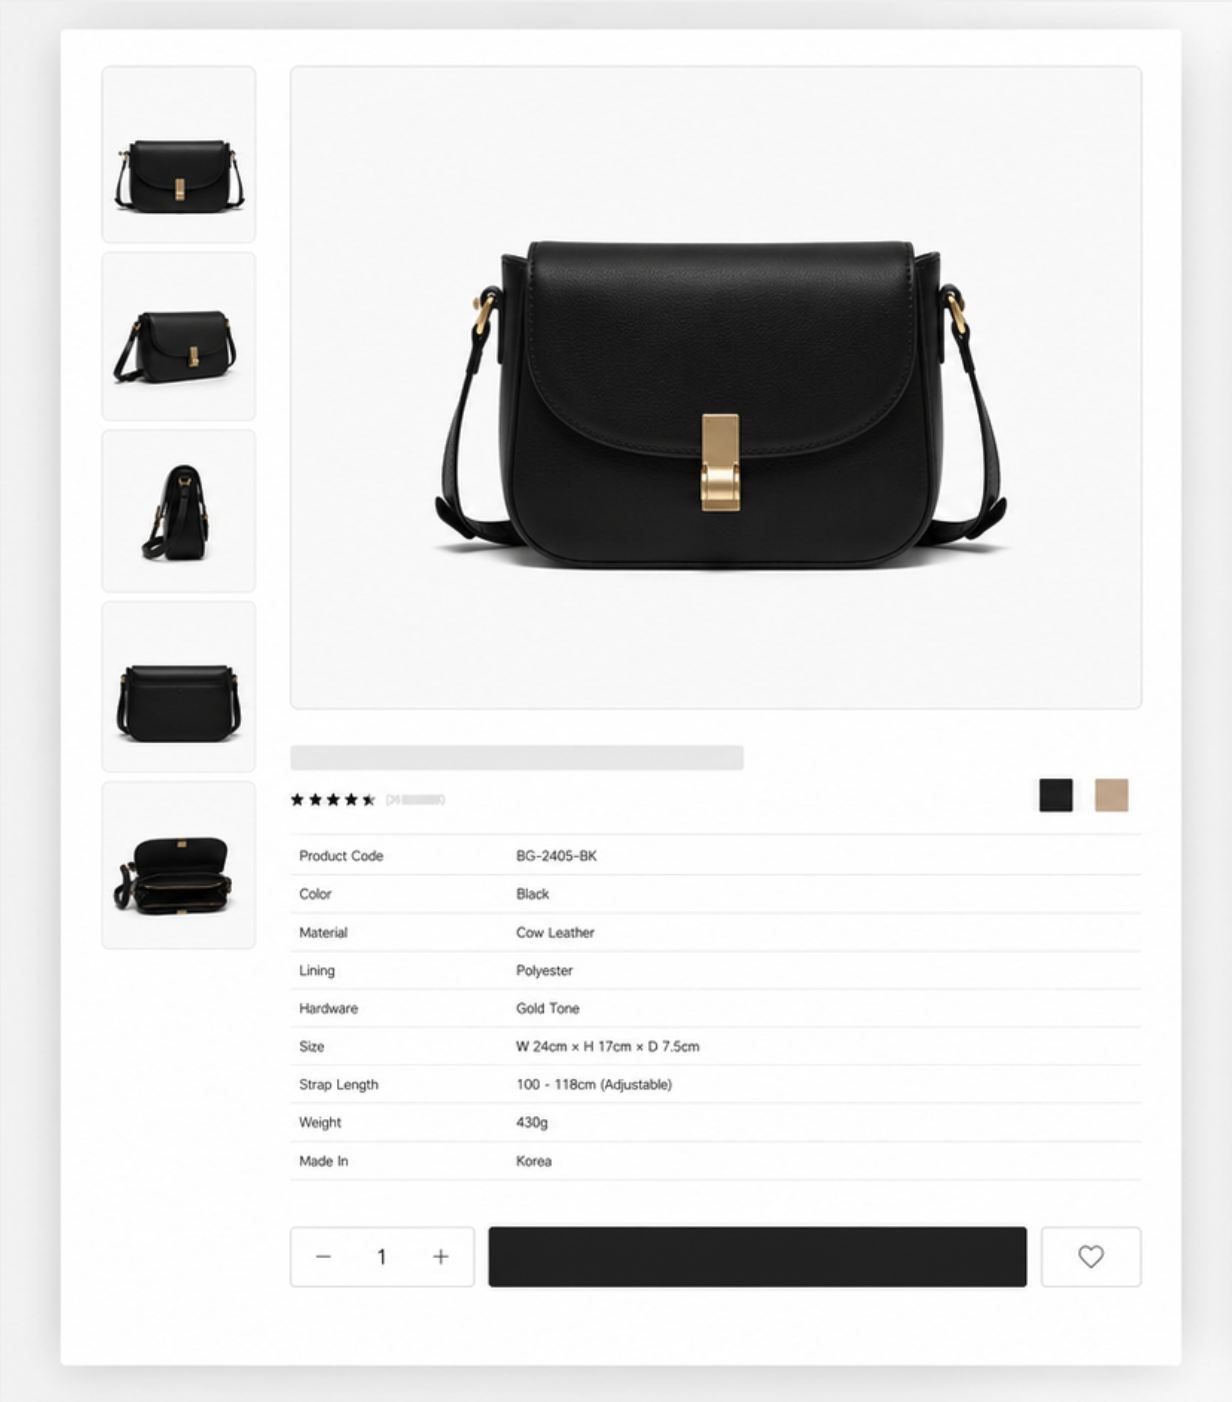
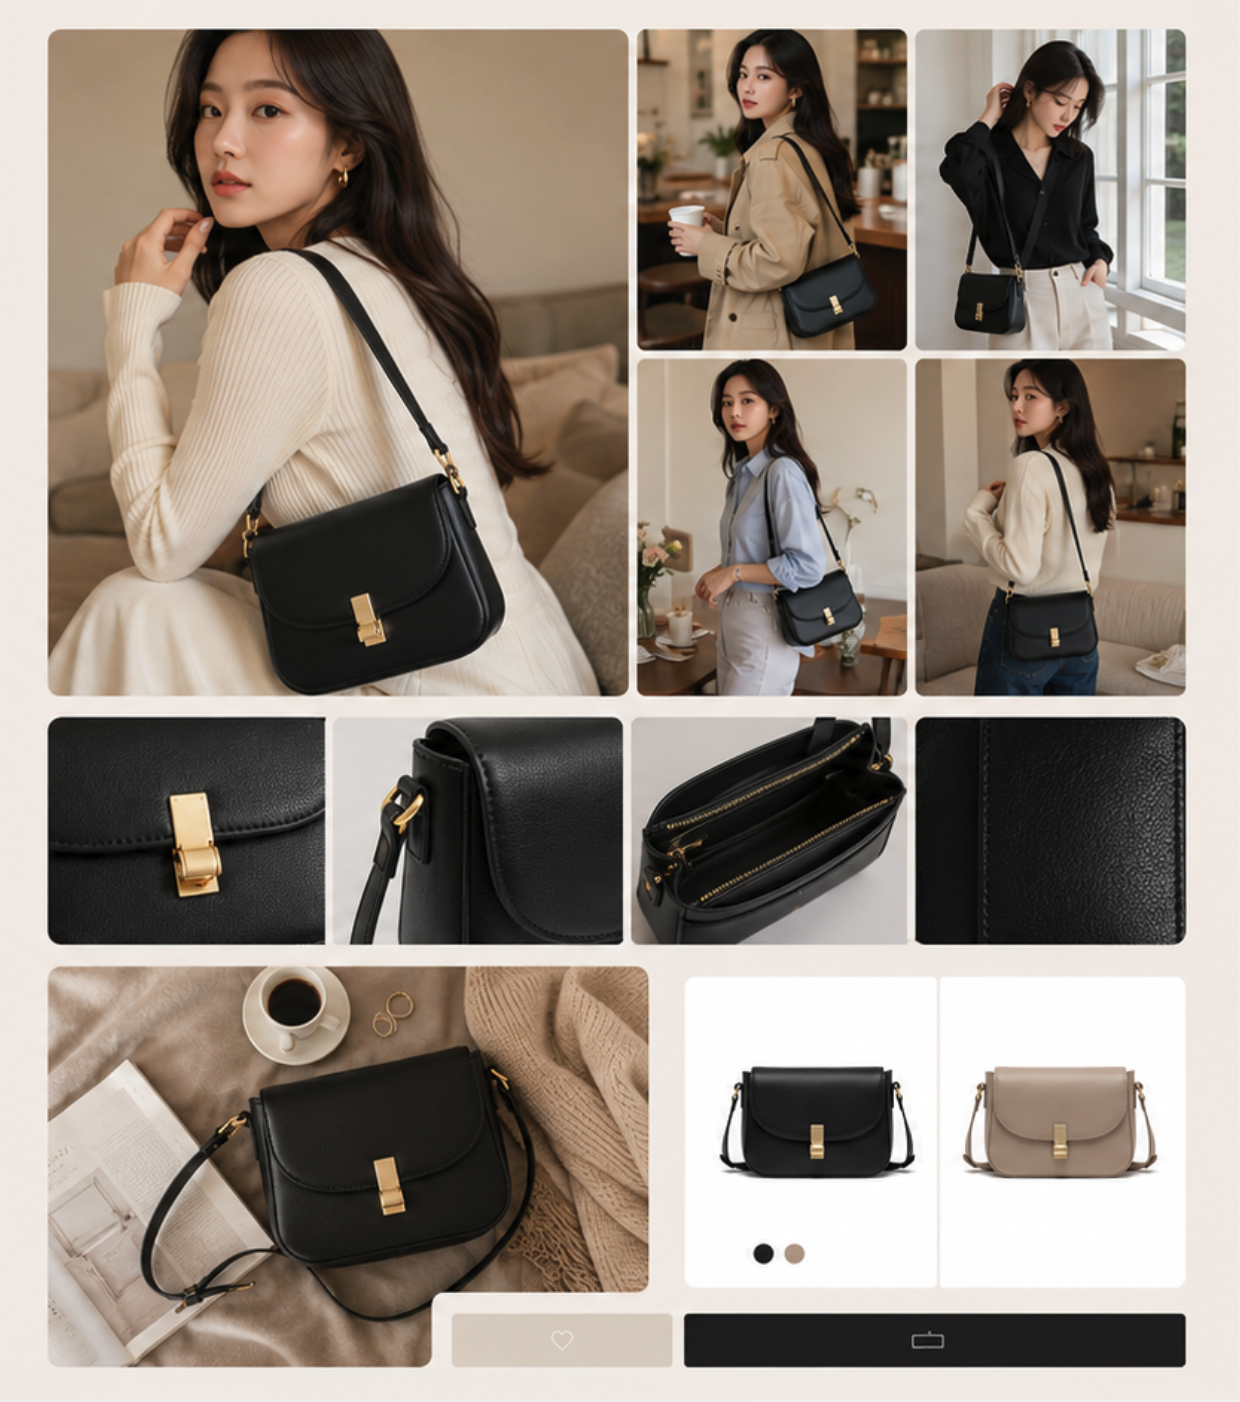
| Comparison Criteria | Average fashion accessories product page | Top-selling fashion accessories product page |
| Page Focus | Explaining the look and basic specs of the product | Showing how it actually looks worn and styled |
| Image Composition | White background images, front/side views, and detail shots | Main visual, model shots, styling photos, lifestyle images, and detail shots |
| Content Flow | Listing product info in a standard, fixed order | Structured to match how customers naturally think and decide to buy |
| Model shots | Rarely used, or just shows a simple fit | Uses models to show real size, proportions, styling tips, and how to use it |
| Usage Scenes | Product is shown isolated from real-life settings | Shows specific scenarios like commuting, daily routine, or travel |
| Styling Info | Leaves it up to the customer to figure out how to wear it | Personally suggests different outfits and ways to style the product |
| Role of Detail Shots | Explaining materials and product structure | Communicating both product quality and the brand's aesthetic vibe |
| Customer Perspective | Checking what the product looks like | Deciding if the product fits their personal style and daily life |
| The Role of Your Product Page | Product Information Guide | Product introduction, styling tips, and helping customers make a purchase decision |
A high-converting fashion accessory product page is more like a professional styling lookbook than just a simple product description. Beyond showing the product clearly, you need to showcase the model, the clothes, and real-life scenarios so that customers can easily imagine themselves wearing and styling the accessories in different ways.
3. Fashion Accessory Product Pages Need Different Key Selling Points Based on Product Type

A well-selling fashion accessory page doesn't just add more images; it prioritizes showing exactly what consumers are most curious about based on the specific product type.
For example, when buying a bag, customers check the storage space and inner compartments. For hats, they check the shape and how it fits their face. For belts, they look at the length and styling effect, while for scarves, they pay more attention to the fabric, drape, and various ways to wear them.
| Accessory Type | Key Consumer Interests | Core Selling Point for Product Pages |
| Bags | Size, storage capacity, internal structure | What can be stored inside, how to wear it, and what occasions it suits best |
| Hats | Hat shape, depth, and fit proportions | Does it naturally complement the face shape, and what styles does it go well with? |
| Belts | Length, width, and adjustable range | How it balances body proportions and what clothes it can be matched with |
| Scarves & Silk Scarves | Material, size, and drape | Various styling techniques, seasonal usage, and how to wear it |
| Wallets & Small Accessories | Storage capacity, closure type, and portability | Internal layout, size when held, and everyday practicality |
Therefore, when creating a fashion accessory product page, you should first identify what matters most to your customers, then turn those product features into clear reasons to buy. By structuring your content around specific consumer needs for each product type, you can communicate the true value and benefits of your items much faster.
4. An AI tool to make creating product pages easier and faster - Draph Art
When creating product pages for fashion items like bags, hats, scarves, and belts, all you need is a clear product photo and basic product info. By using Draph Art, you can generate images, product descriptions, and even the entire product page layout all at once.
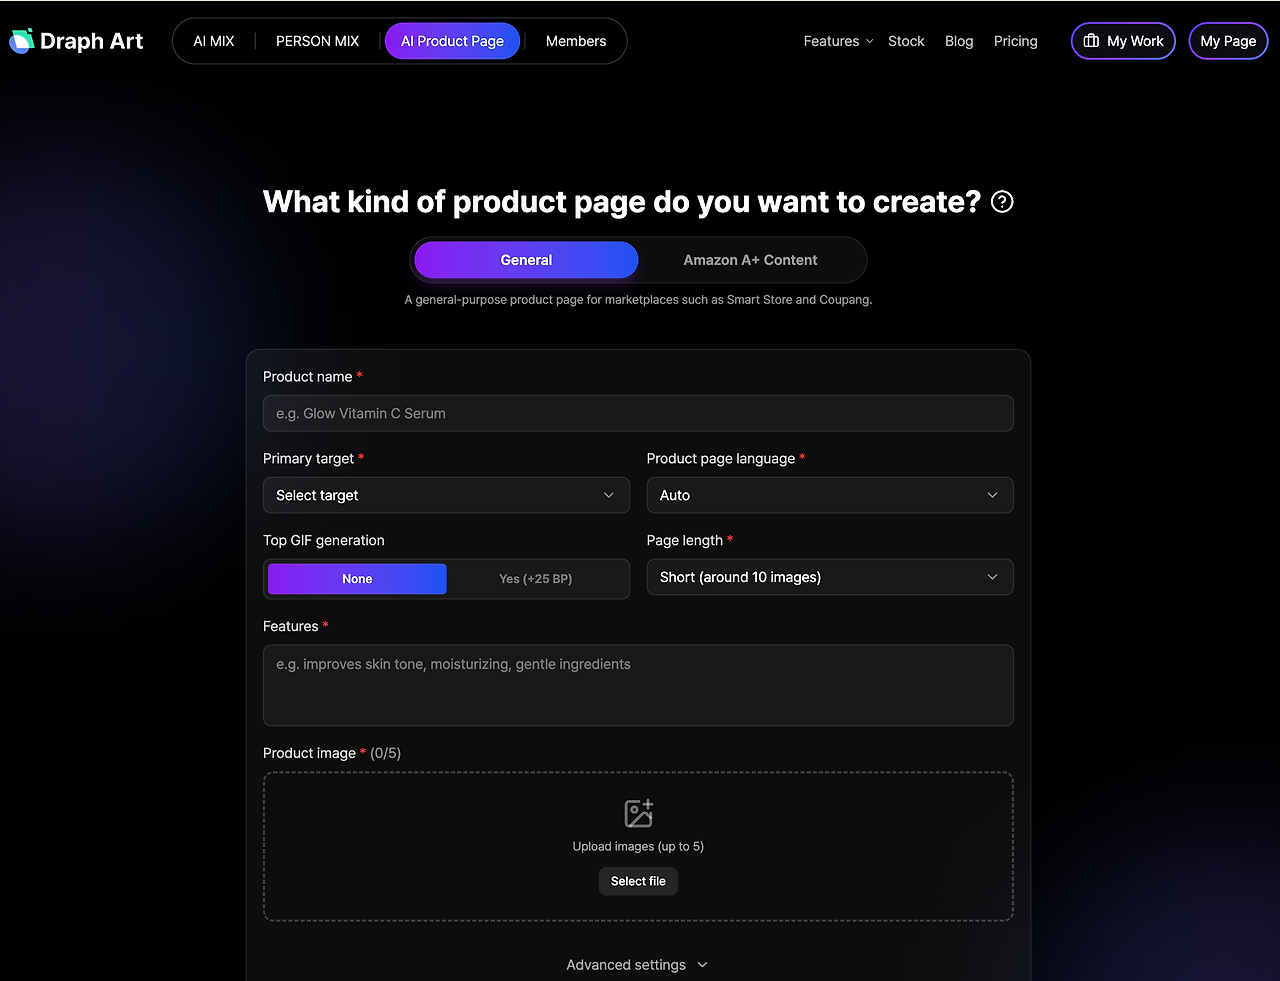
STEP 1|Upload your product photo and enter information
Upload your fashion accessory photo and enter details like the product name, material, size, color, key features, and target audience. Depending on your brand concept, you can also set the brand colors, page style, and the styling scenes you want to feature.
STEP 2|Automatically Create Product Detail Page Content with AI
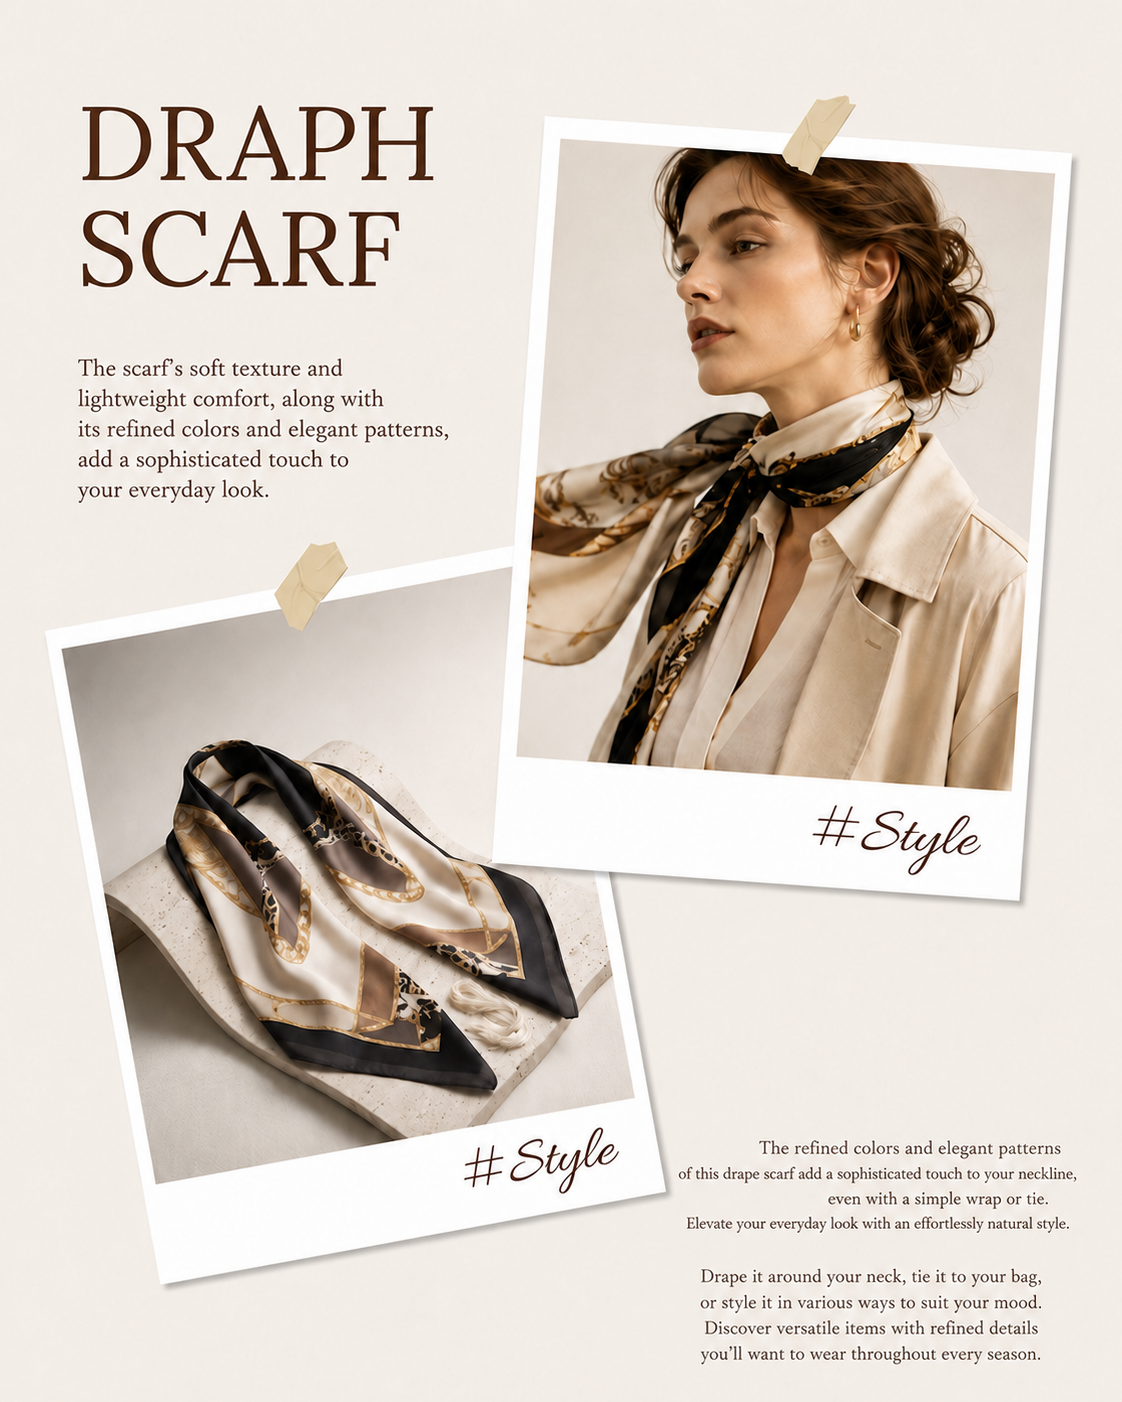
Draph Art automatically generates main product visuals, AI model lookbooks, various styling images based on clothing or situations, material detail shots, and product descriptions based on the information you provide. The generated content is organized into a complete, high-converting fashion accessory product page.
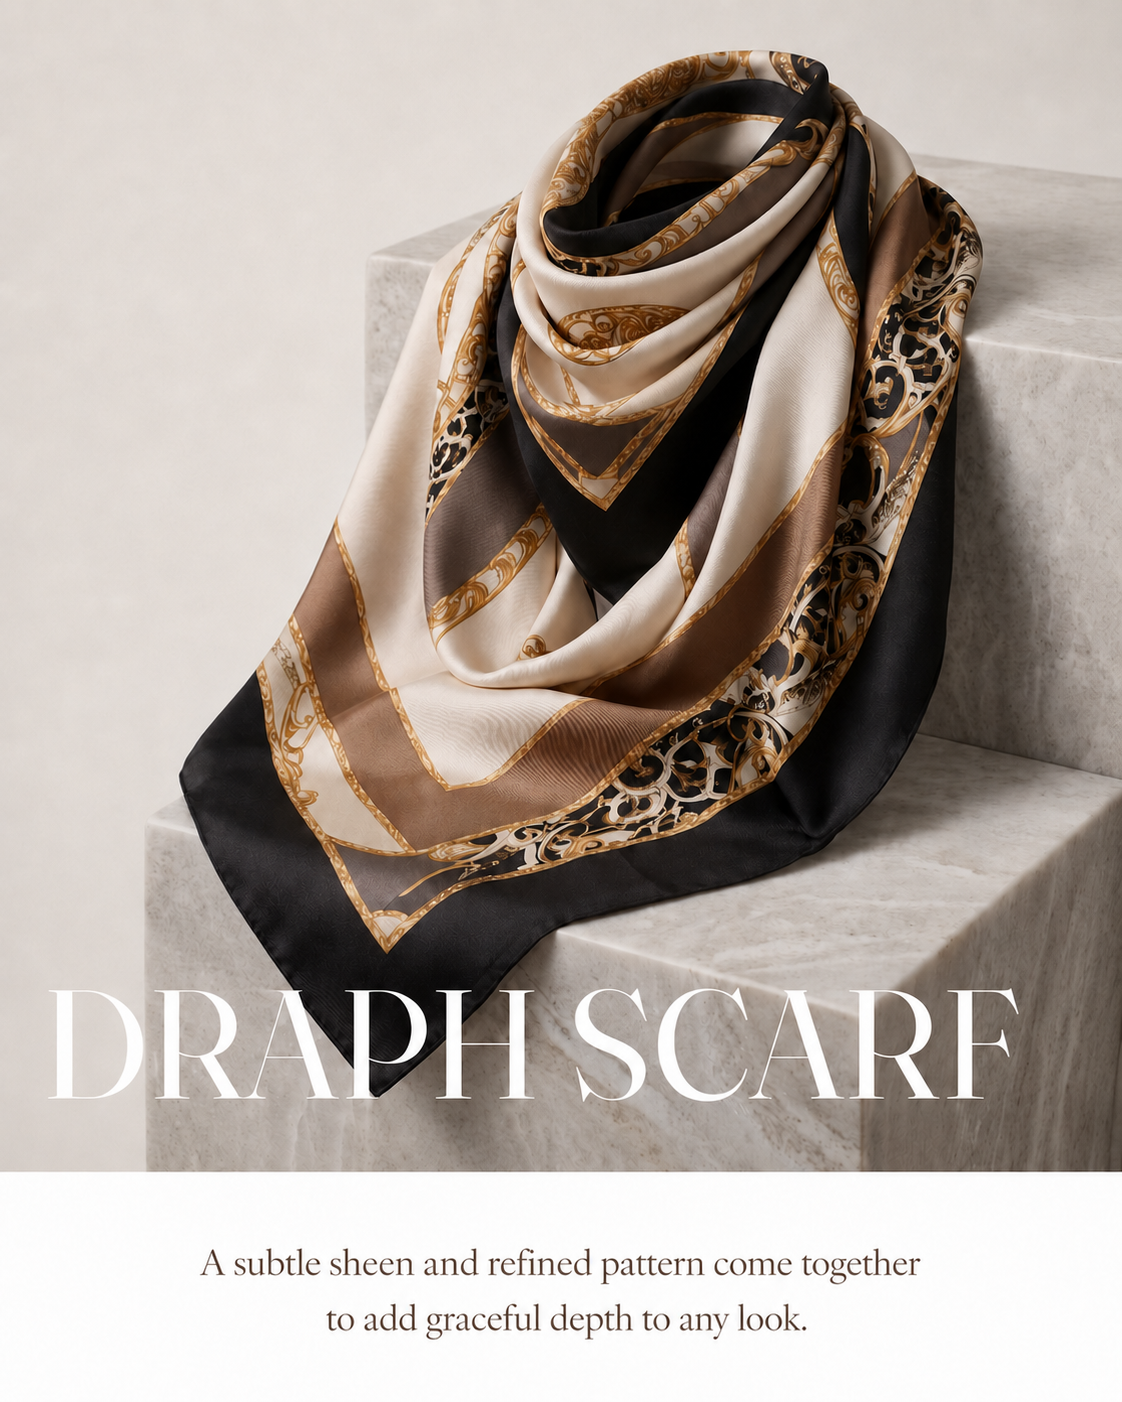

STEP 3|Edit and Export Your Content
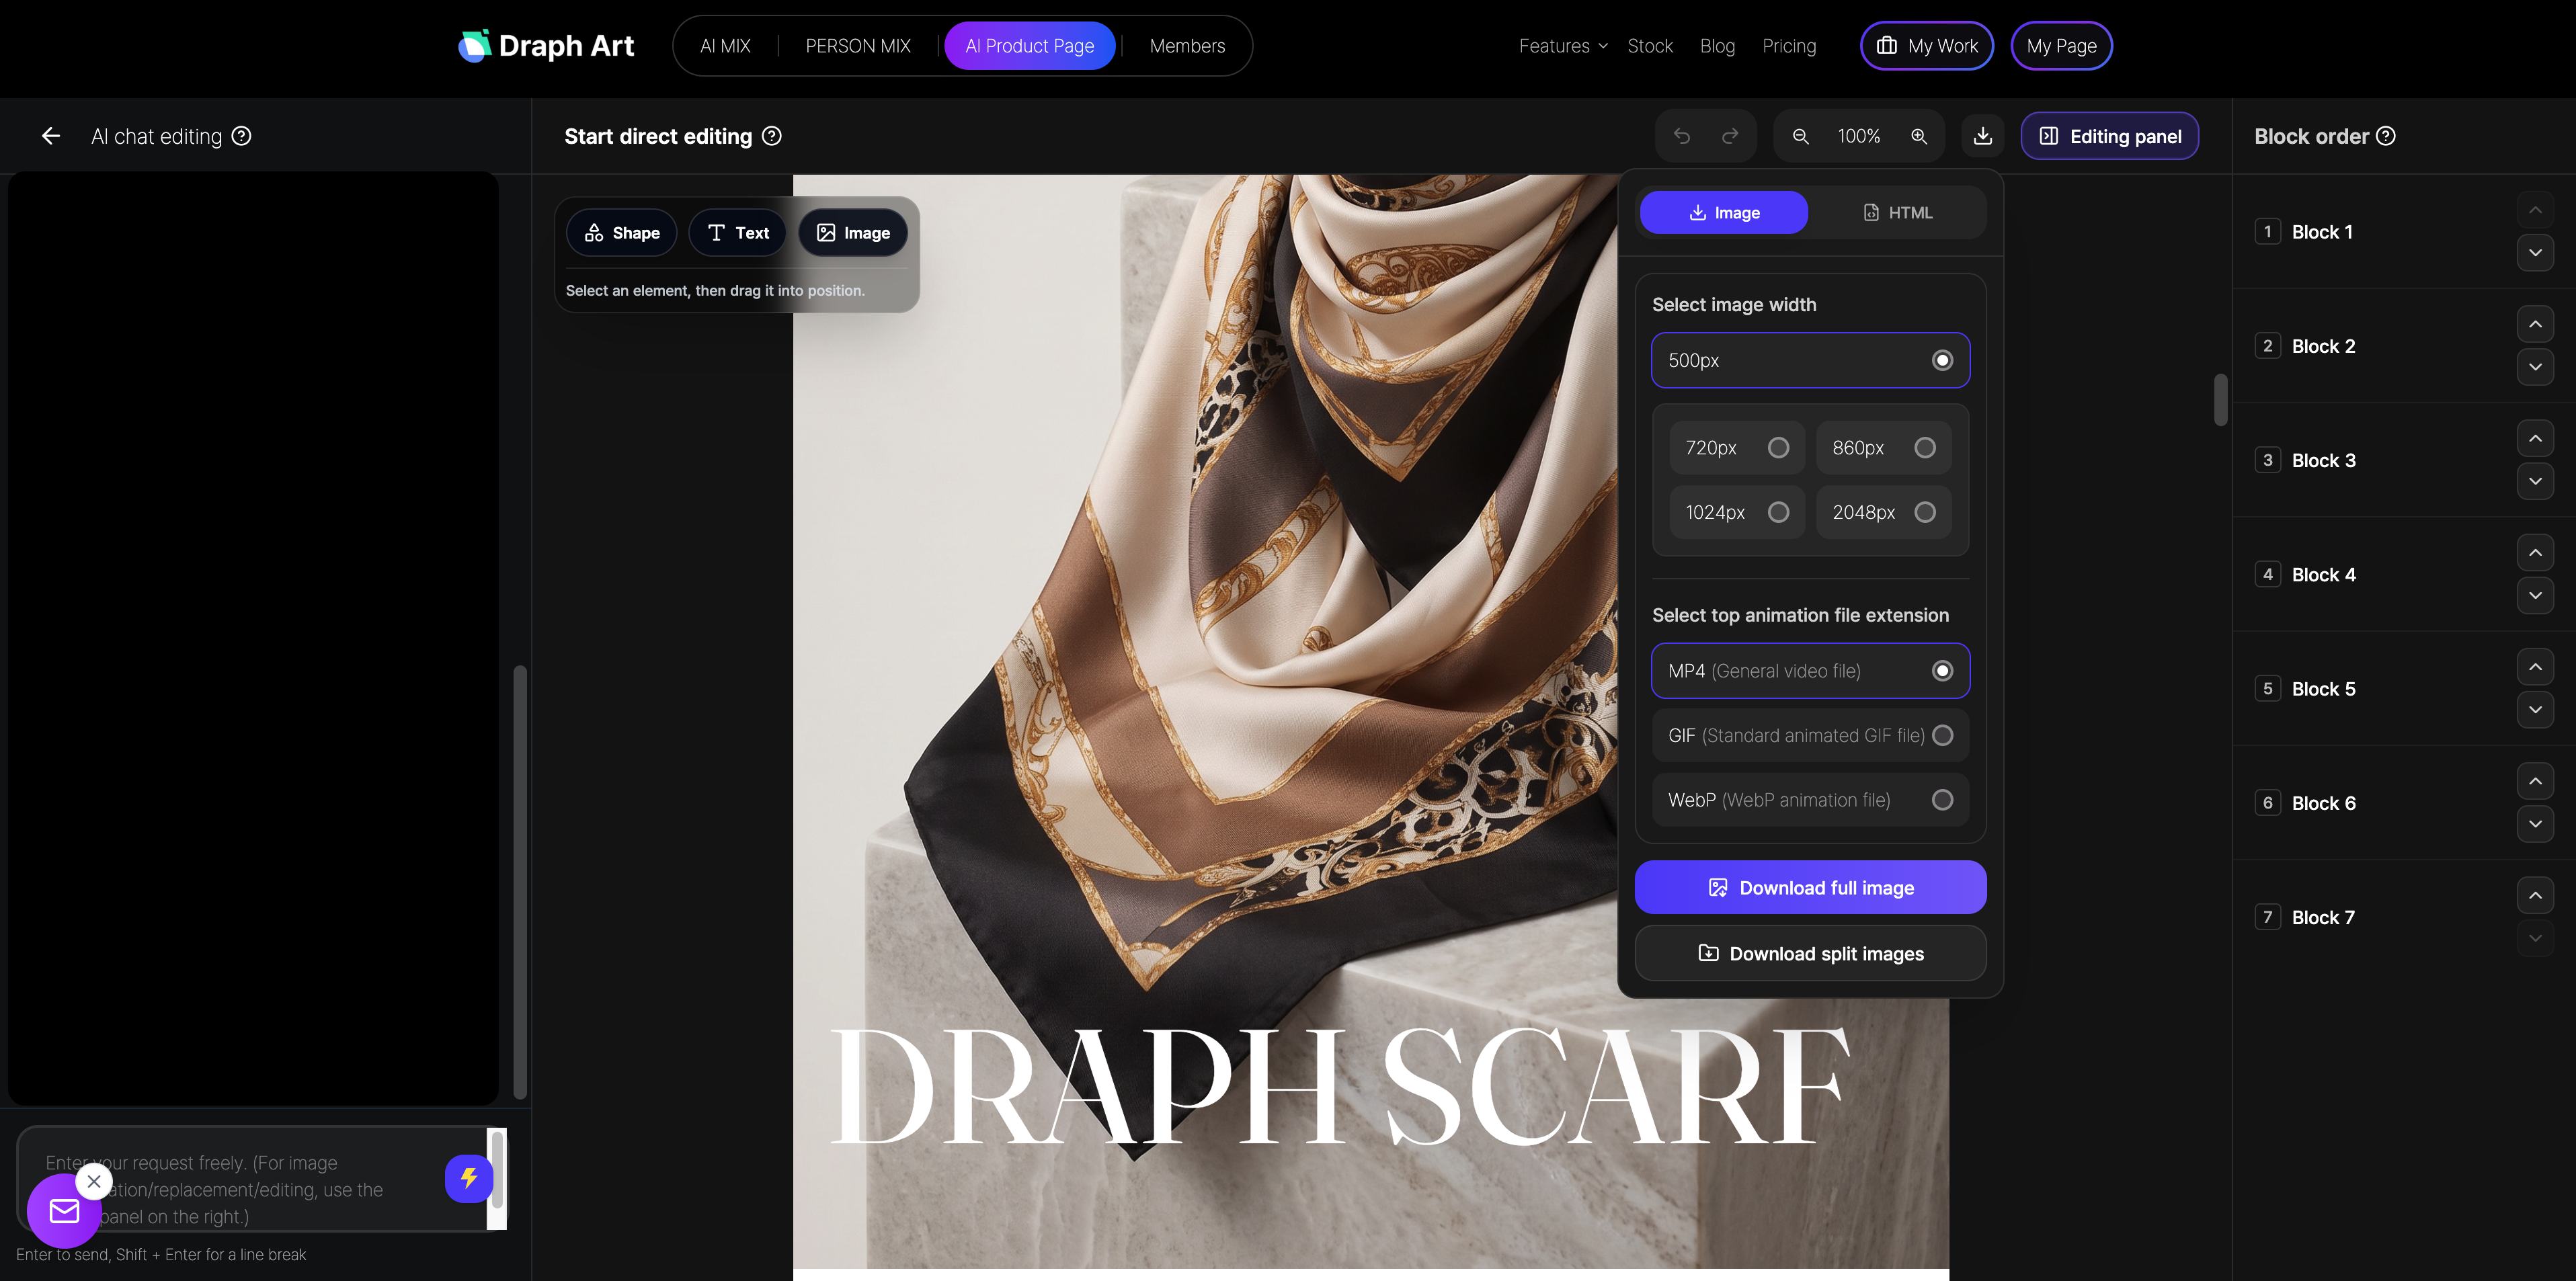
In the generated detail page, you can individually edit the model, background, styling vibe, text, and page modules. You only need to regenerate the parts you don't like, so there's no need to start from scratch. Once you're happy with the final result, you can export it as an image or HTML to use directly on your online store.
Frequently Asked Questions (FAQ)
Q1. Can I use product photos that aren't on a white background?
A1: Yes, you can. As long as the photo clearly shows the product's shape, color, and key design details, you can use regular shots. Draph Art AI automatically detects the product in the image, removes the background, and gives you a high-quality result that keeps every detail of your product sharp.
Q2. Can I create a different style of detail page for each product?
A2: Yes, absolutely. Even within the same fashion accessory category, you can customize the model, background, styling scene, and page layout based on the product’s color, material, target audience, and brand aesthetic. This helps avoid a 'cookie-cutter' look and makes each product stand out.
Q3. How long does it take to create a fashion accessory product page?
A3: Once you upload your product photos and basic info, you can see a draft in about 3 to 10 minutes. The actual time depends on the number of images and the amount of editing you do, but it significantly cuts down on production time compared to traditional photoshoots and manual design.

.png&w=1920&q=75)
.png&w=1920&q=75)